- Products

- Developers
- User stories
- Blog
- Pricing

How to use TypeScript with Node
Tutorial on how you can create an app with TypeScript and Node.js, using Gulp to automate the building process and Nodemon to restart the server.
Introduction
TypeScript is a free open-source programming language developed and maintained by Microsoft. It is a strict superset of JavaScript and adds optional static typing and class-based object-oriented programming to the language. Today we are going to learn how to use TypeScript with Node.js.
What Will You Build?
We will be building a simple Hello world application, which shows the current date and time using TypeScript and Node.js.
Why Use TypeScript?
While there are lots of reasons why you should use TypeScript, here are three which I think are convincing enough.
- Optional typing: In JavaScript, a variable is defined thus:
var me = "myname"
In the code above, we leave it to the interpreter to guess which data type the variable is. In TypeScript, we can declare the same variable as:
var me: string = "my name"
This gives the option of declaring what data type we want, which also helps while debugging.
- Interfaces: TypeScript allows you to define complex type definitions in the form of interfaces. This is helpful when you have a complex type that you want to use in your application, such as an object which contains other properties.
Let’s take a look at this example:
1interface Usercheck{ 2 name: string; 3 age: int; 4 } 5 6 class User implements Usercheck { 7 constructor (public name: string, public age: int) { 8 } 9 }
The User class obeys, and must have data-types and definitions to, the interface Usercheck because it implements Usercheck. This is a function that is usually appreciated more by developers who use static languages.
- TypeScript makes code easier to read and understand: The key to TypeScript is that it’s a statically typed script. Programming languages can either be statically or dynamically typed; the difference is when type checking occurs. Static languages’ variables are type checked which helps make the code more readable. The availability of classes also makes the code look more readable. For example:
1//Typescript 2 class Test { 3 //field 4 name:string; 5 //constructor 6 constructor(name:string) { 7 this.name = name 8 } 9 //function 10 display_name():void { 11 console.log("name is : "+this.name) 12 } 13 } 14 //javascript 15 var Test = (function () { 16 //constructor 17 function Test(name) { 18 this.name = name; 19 } 20 //function 21 Test.prototype.display_name = function () { 22 console.log("name is : " + this.name); 23 }; 24 return Test; 25 }());
In the snippet above, notice that it is easier to read the TypeScript version of the code than the JavaScript Version. In the TypeScript version, we can immediately see that the public variable called name is of the string data-type. In the JavaScript version, we cannot immediately figure out the data-type of the variable. Also, in the JavaScript Version, we had to use the prototype function to declare our display_name function, while in TypeScript we did not have to do that.
Getting Started
To install TypeScript globally so you can call it when needed, run:
npm install -g typescript
For verification of the installed TypeScript, use the tsc --v command:
1tsc --v 2 //Version 2.1.6
Next, install gulp for the build process. To do that, run:
npm install -g gulp
Now, create a folder that will hold the application. To do this, run npm init and follow the instructions below:
1//create a new directory 2 mkdir type-node 3 //change directory to the new folder 4 cd type-node 5 //run npm init 6 npm init
You should now have all the basic libraries to start configuring for use.
Configuring TypeScript
Given no arguments, tsc will first check tsconfig.json for instructions. When it finds the config, it uses those settings to build the project.
Create a new file called tsconfig.json in the root folder and add the following:
1{ 2 "compilerOptions": { 3 "target": "es6", 4 "module": "commonjs" 5 }, 6 "include": [ 7 "**/*.ts" 8 ], 9 "exclude": [ 10 "node_modules" 11 ] 12 }
This defines the three major sections, which include compilerOptions, include and exclude parameters:
- In the compiler options, a target of es6 has been set. This means that the JavaScript engine target will be set to es6, and the module will be set to CommonJS.
- In the include block, a path has been set that scans for all TypeScript files and compile them.
- In the exclude block, node_modules is being defined for it. TypeScript will not scan the node_modules folder for any TypeScript file. If you create a dummy
index.tsfile in the root, and run tsc on the command line, we will see the compiled**index.js**file.
Configuring Gulp
Although we have installed Gulp globally, we still need to install Gulp in our local project as well as Gulp-TypeScript. To do that, we run:
npm install gulp gulp-typescript typescript --save
Doing just this setup done might be enough, but you would have to go back to the terminal to run the tsc command every time a change occurs. Instead, you can use Gulp to automate the process and run the compilation each time you change the file. Here’s how.
Add a gulpfile.js to the root of the directory. This enables automatic compilation of the source files. Now, put the following contents into the gulpfile.js:
1const gulp = require('gulp'); 2 const ts = require('gulp-typescript'); 3 4 // pull in the project Typescript config 5 const tsProject = ts.createProject('tsconfig.json'); 6 //task to be run when the watcher detects changes 7 gulp.task('scripts', () => { 8 const tsResult = tsProject.src() 9 .pipe(tsProject()); 10 return tsResult.js.pipe(gulp.dest('')); 11 }); 12 //set up a watcher to watch over changes 13 gulp.task('watch', ['scripts'], () => { 14 gulp.watch('**/*.ts', ['scripts']); 15 }); 16 17 gulp.task('default', ['watch']);
This creates a Gulp task which fires once a watcher triggers. A Gulp watcher watches for changes in the ts files and then compiles to JavaScript.
Now, delete the index.js file the tsc command created earlier. If you run Gulp, you will notice that the index.js file is re-created and that Gulp is now watching for changes.
Now that the Gulp watcher is running on one terminal, move to another terminal and continue the configuration.
Creating The App.ts File
First, we need to install the Express library by running the following:
npm install express --save
The next step is to create the app.ts file that holds the Express app. Create an app.ts file, and copy the following into it:
1import * as express from 'express'; 2 // Creates and configures an ExpressJS web server. 3 class App { 4 // ref to Express instance 5 public express: express.Application; 6 //Run configuration methods on the Express instance. 7 constructor() { 8 this.express = express(); 9 this.middleware(); 10 this.routes(); 11 } 12 // Configure Express middleware. 13 private middleware(): void { 14 } 15 16 // Configure API endpoints. 17 private routes(): void { 18 /* This is just to get up and running, and to make sure what we've got is 19 * working so far. This function will change when we start to add more 20 * API endpoints */ 21 let router = express.Router(); 22 // placeholder route handler 23 router.get('/', (req, res, next) => { 24 res.json({ 25 message: 'Hello World!' 26 }); 27 }); 28 this.express.use('/', router); 29 } 30 } 31 export default new App().express;
This has imported everything from Express and created a TypeScript class called App. A public property called express was also declared. Additionally, in the constructor, we had assigned an instance of the Express library to a public property called express which we defined earlier.
Finally, the middleware and routes function are being called. The middleware function defines middleware like CORS, templating engine, etc, while the routes function registers the routes, which have been set.
Configuring Express
Next, we will create an Express entry point, which we will write in TypeScript.
Create a new file called main.ts and add the following to it:
1import * as http from 'http'; 2 import App from './App'; 3 const port = 3000; 4 App.set('port', port); 5 //create a server and pass our Express app to it. 6 const server = http.createServer(App); 7 server.listen(port); 8 server.on('listening', onListening); 9 10 //function to note that Express is listening 11 function onListening(): void { 12 console.log(`Listening on port `+port); 13 }
This has imported the HTTP module from node. The App class which runs the application is being imported.
Get a port value from the environment or set the default port number to 3000. Create the HTTP server, and pass App to it (Express app). Set up some basic error handling and a terminal log to show when the app is ready and listening.
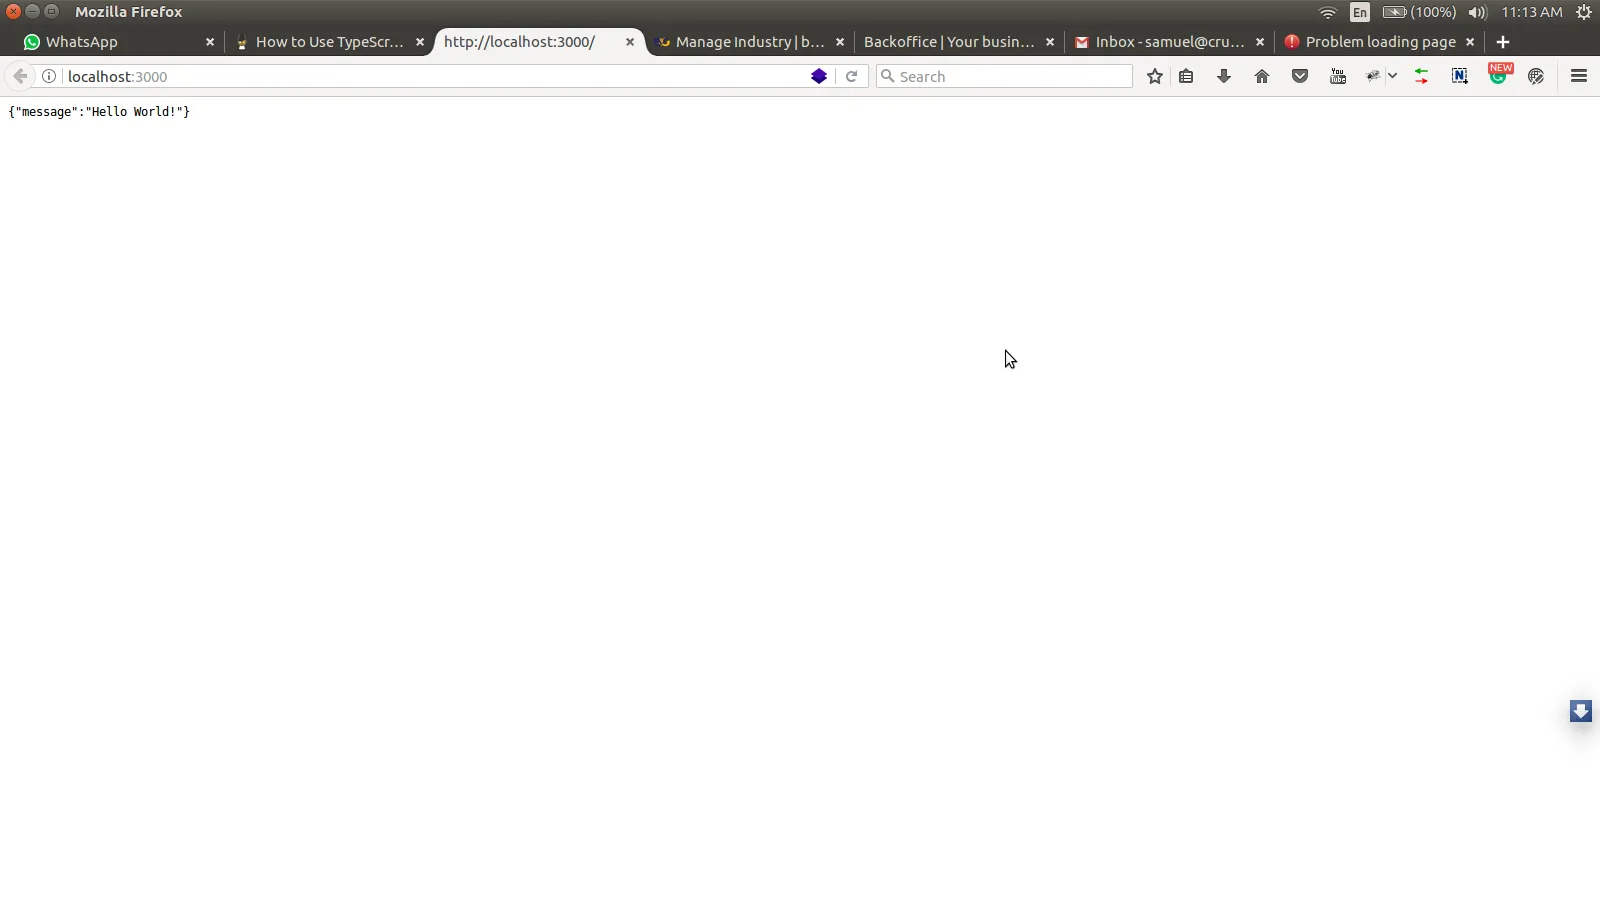
If you run node main.js in the terminal, you will get a message that says listening on port 3000
Go to your browser, and you should see something like this:
Creating the **npm test** command
Inside our package.json file, let’s replace the part that defines the script section with the following:
1"scripts": { 2 "test": "gulp" 3 }
Now, any time we run npm test our Gulp command will run.
Notice that when you run npm test, it runs the Gulp watch script, and errors like “*****can not find some modules*****” might pop up. This is because TypeScript needs some definitions before it can read raw node libraries.
To install TypeScript definitions, use the @types notation with the packages. That is, to install Express TypeScript definitions, you will run npm install @types/express, but all the packages have already been installed, so we will install only the node types definition.
Open up the terminal and do this:
npm install @types/node --save
If you now run the npm test, error messages will have cleared up and scripts will re-compile on the go, however make sure you restart the server to check that the error messages do not show up anymore.
To allow the server to refresh the changes on the go, use nodemon. Nodemon is an npm package that restarts the server any time application files change.
Install Nodemon:
npm install -g nodemon
Once Nodemon has finished installing, instead of node main.js, run nodemon main.js. Change what shows on the browser from the simple JSON message to a couple of HTML tags, and go to the routes function in the app``**.ts** file to move the part where res.json appears on line 30, and change the whole block to this:
1res.send( 2 `<html> 3 <head> 4 <title>Tutorial: HelloWorld</title> 5 </head> 6 <body> 7 <h1>HelloWorld Tutorial</h1> 8 9 <p> 10 The current data and time is: 11 <strong>`+new Date()+`</strong> 12 </p> 13 14 </body> 15 </html>` 16 )
That is it! You have created your first Express application using TypeScript.
Conclusion
Following the tutorial, you should have created your first simple application using TypeScript and Node.js. In summary, you should have learned how to use Gulp to automate the building process, as well as using Nodemon to restart the server. Once the scripts have re-compiled, you can decide to add more things like using view engines, serving static files, performing file uploads and a lot more.
The code base to this tutorial is available in a Public Github Repository. You can clone the repository and play around with the code base.


© 2024 Pusher Ltd. All rights reserved.
Pusher Limited is a company registered in England and Wales (No. 07489873) whose registered office is at MessageBird UK Limited, 3 More London Riverside, 4th Floor, London, United Kingdom, SE1 2AQ.