- Products

- Developers
- User stories
- Blog
- Pricing

Building a realtime score board component with StencilJS and Pusher
In this tutorial, discover how to build a live score board component with StencilJS and Pusher.
Introduction
By combining a lot of concepts from well-known frameworks such as Angular and React, StencilJS allows us to compile and create native web components using plain JavaScript and, in the process, build amazing stuff. In this tutorial, we will build a realtime scoreboard component with Stencil JS and Pusher. With us to aid in this task are some developer tools:
- Stencil JS: A compiler which generates Web Components and combines the best concepts of the most popular frameworks into a simple build-time tool.
- Pusher: A free, realtime, easy to use pub/sub service. Pusher makes realtime as easy as using basic events. You will need to sign up for a free account to get started.
- Bulma: A free and open source CSS framework based on Flexbox.
- dotenv: A zero-dependency module that loads environment variables from a
.envfile intoprocess.env.
The app is going to have a very simple server that emits Pusher events at intervals.
Setting up our Stencil Project
Ensuring that we already have npm installed, we execute the following commands in our command line:
1# Clone the Github repo 2 git clone https://github.com/ionic-team/stencil-starter.git real-time-scoreboard-app 3 4 # Move into the repo 5 cd real-time-scoreboard-app 6 7 # Remove original remote URL 8 git remote rm origin 9 10 # Install npm dependencies 11 npm install 12 13 # install Pusher (client & server) SDK as well as dotevn 14 npm install pusher-js pusher dotenv --save
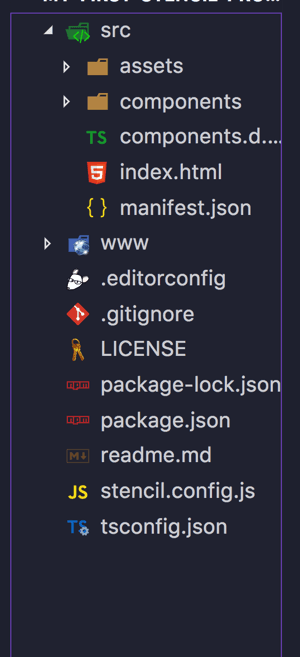
When we are done, our project folder should look like this:
In our folder, we should have an index.html file. Empty the file and replace it with the following markup which includes Bulma’s CDN for our scoreboard app styling.
1<!DOCTYPE html> 2 <html dir="ltr" lang="en"> 3 <head> 4 <meta charset="utf-8"> 5 <title>Stencil Starter App</title> 6 <meta name="viewport" content="width=device-width, initial-scale=1.0, minimum-scale=1.0, maximum-scale=5.0"> 7 <meta name="theme-color" content="#16161d"> 8 <meta name="apple-mobile-web-app-capable" content="yes"> 9 10 <!-- Include Bulma --> 11 <link rel="stylesheet" href="https://cdnjs.cloudflare.com/ajax/libs/bulma/0.6.0/css/bulma.min.css"> 12 <script src="/build/app.js"></script> 13 <link rel="apple-touch-icon" href="/assets/icon/icon.png"> 14 <link rel="icon" type="image/x-icon" href="/assets/icon/favicon.ico"> 15 <link rel="manifest" href="/manifest.json"> 16 </head> 17 <body> 18 19 <app-site></app-site> <!-- our app template in the DOM --> 20 </body> 21 </html>
Creating our Scoreboard Component
To create our scoreboard component, we create a new file and name it app-site.tsx. We place it in the src/components/app-site directory. In our app-site.tsx file, we insert the following code:
1import { Component, State } from '@stencil/core'; 2 @Component({ 3 tag: 'app-site', 4 styleUrl: 'app-site.scss' 5 }) 6 export class AppSite { 7 8 @State() finished = false; 9 @State() scores: Score = { 10 arsenal: 0, 11 chelsea: 0 12 } 13 14 render() { 15 console.log(this.scores); 16 return ( 17 <div class="hero is-info is-fullheight"> 18 <div class="hero-body"> 19 <div class="container "> 20 {this.finished && <h1 class="has-text-centered title">Game Over!!!</h1>} 21 <div class="level"> 22 <div class="level-item has-text-centered" /> 23 <div class="level-item has-text-centered"> 24 <div> 25 <p class="title is-1">{this.scores.arsenal}</p> 26 <p class="title">Arsenal</p> 27 </div> 28 </div> 29 <div class="level-item has-text-centered"> 30 <div> 31 <p class="title is-1">:</p> 32 </div> 33 </div> 34 <div class="level-item has-text-centered"> 35 <div> 36 <p class="title is-1">{this.scores.chelsea}</p> 37 <p class="title">Chelsea</p> 38 </div> 39 </div> 40 <div class="level-item has-text-centered" /> 41 </div> 42 </div> 43 </div> 44 </div> 45 ); 46 } 47 } 48 interface Score { 49 arsenal: number; 50 chelsea: number; 51 }
In the component above, we import the Component and State decorators from the Stencil JS core library. The Component decorator is responsible for configuring our scoreboard class component, AppSite. It configures the selector’s name (app-site) which is used to mount the component in the entry index.html:
1<body> 2 <app-site></app-site> <!-- our app template in the DOM --> 3 </body>
The State decorator is responsible for managing the state of the scoreboard component. The component is rendered using the render function.
To style our component, create a file called app-site.scss, add our style to it and insert it in our src/components directory:
1.is-1 { 2 font-size: 10rem !important; 3 }
The component is linked to this style using the Component decorator’s object through the styleUrl property.
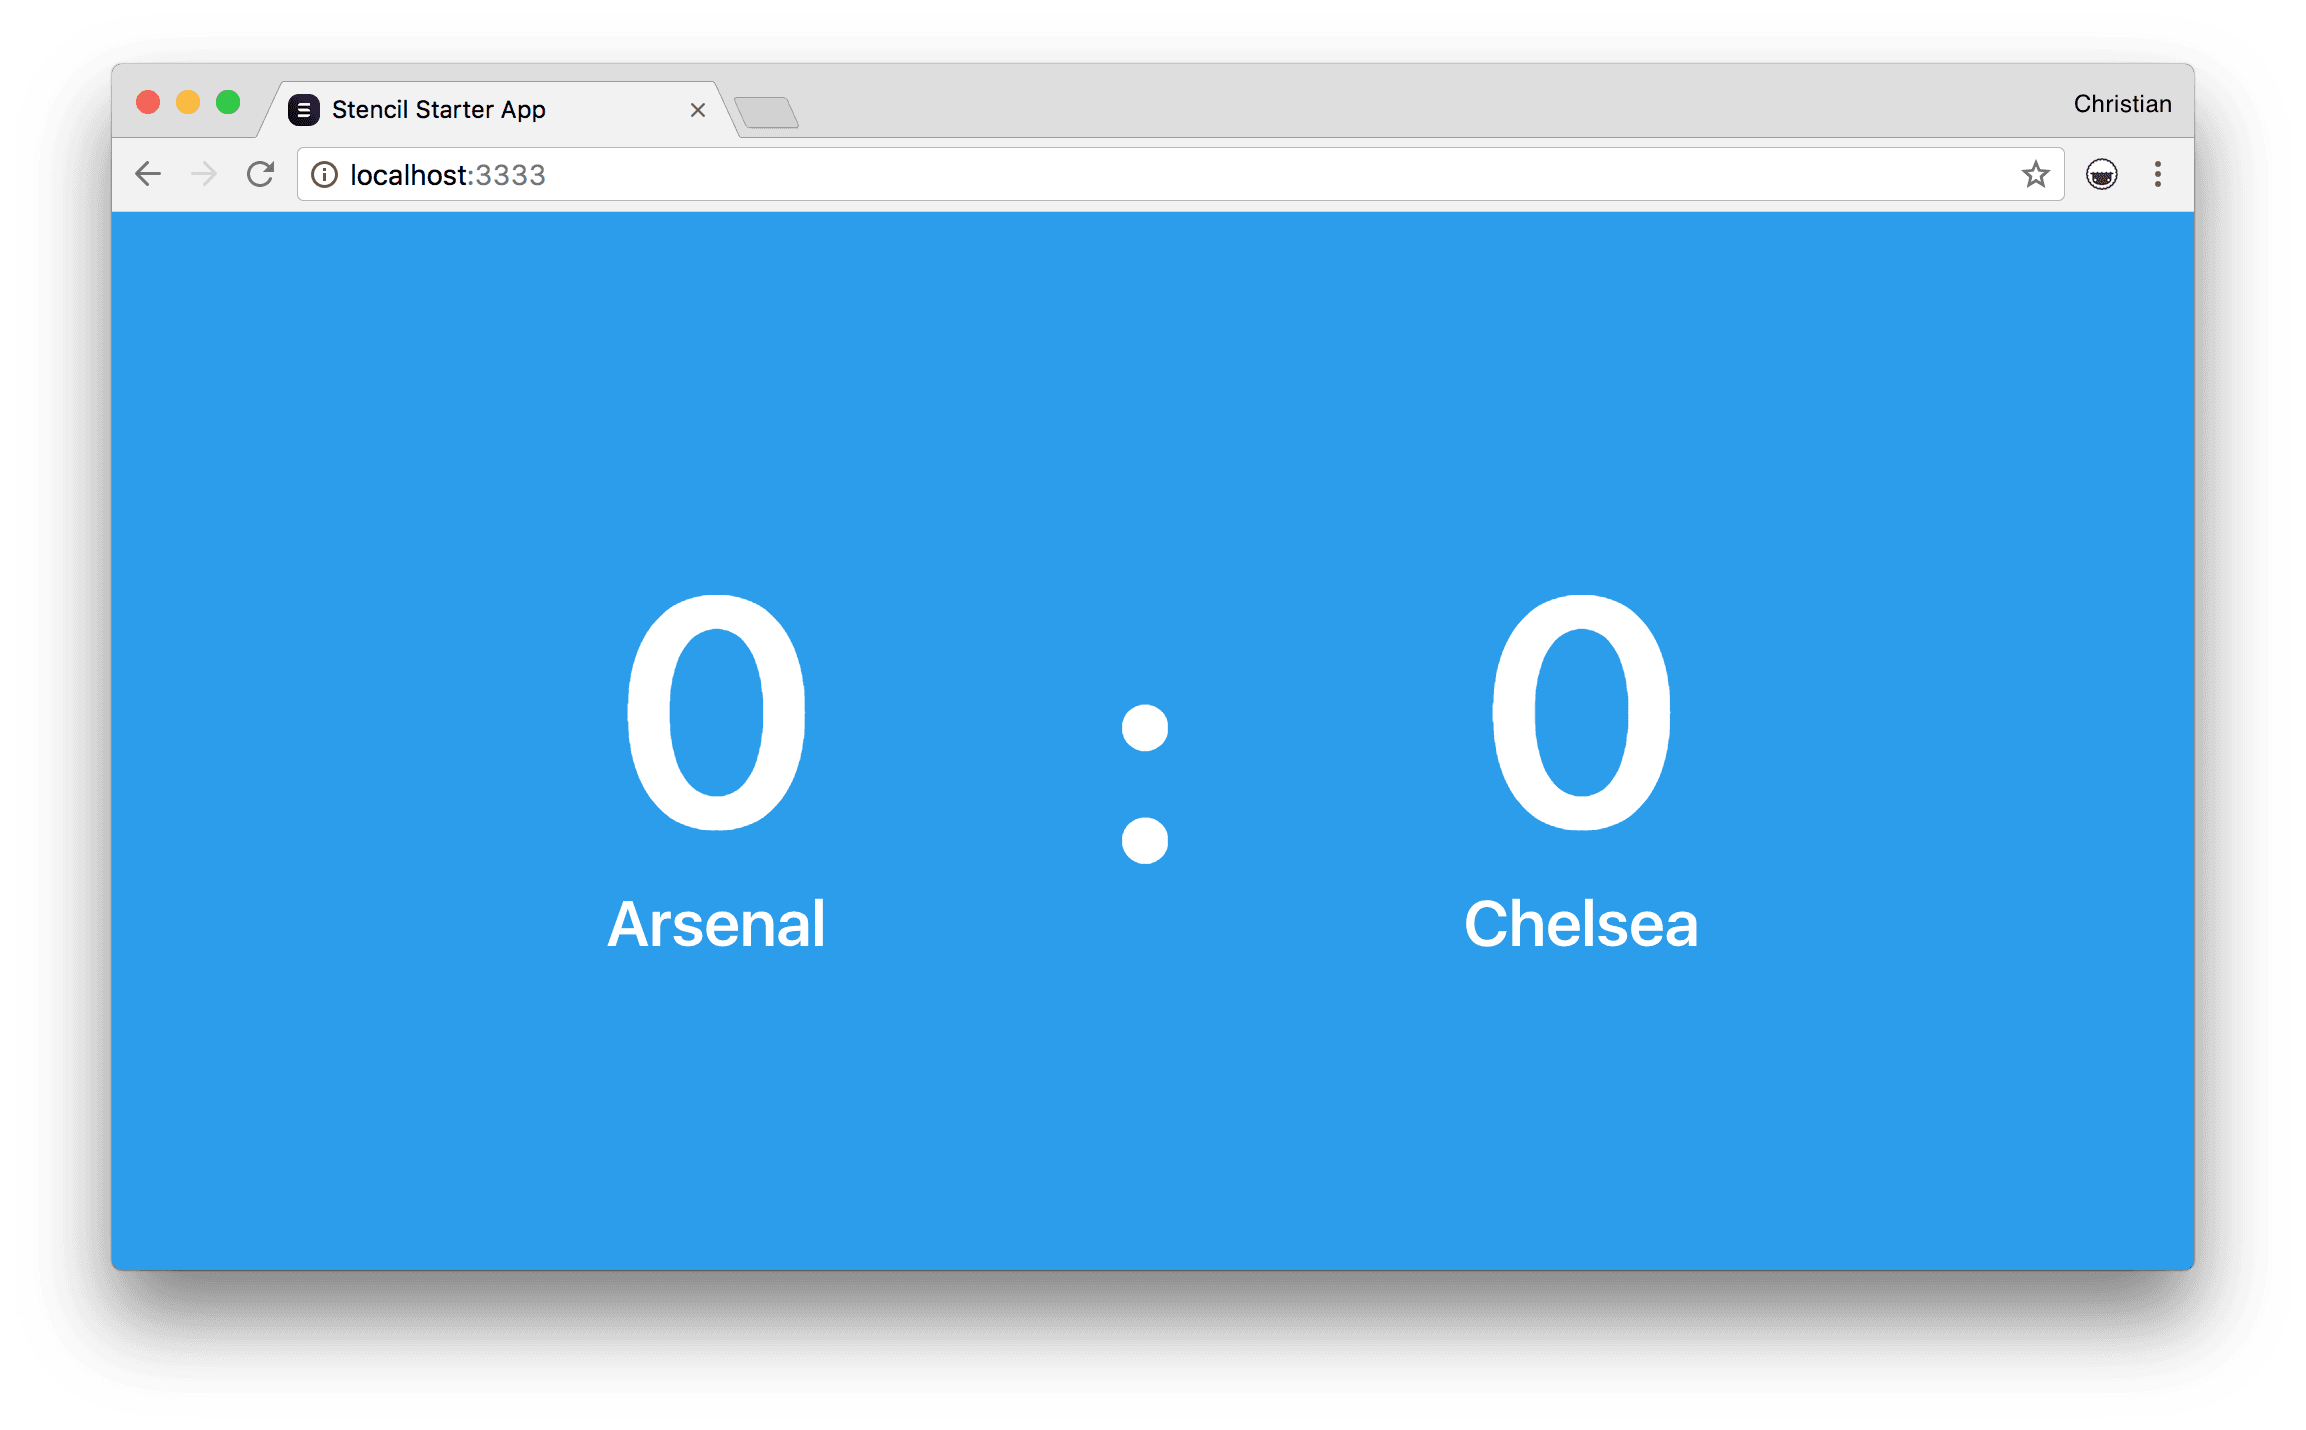
Start the app with npm start via your terminal and you should get the following at localhost, port 3333:
Realtime updates with Pusher
For realtime updates to our scoreboard, we are going to integrate Pusher. Pusher is a simple cloud-based API for implementing easy and secure realtime functionalities on the web and mobile apps.
To integrate Pusher, we need to install Pusher on both the client side and on the server side.
Installing Pusher on the Client
Start with including the Pusher Client Library in our index.html file:
1<head> 2 ... 3 <script src="https://js.pusher.com/4.1/pusher.min.js"></script> 4 ... 5 </head>
Update the componentDidLoad lifecycle method to establish our connection with Pusher via a new Pusher instance:
1import { Component, State } from '@stencil/core'; 2 import Pusher from 'pusher-js'; 3 declare var Pusher: any 4 @Component({ 5 tag: 'app-site', 6 styleUrl: 'app-site.scss' 7 }) 8 export class AppSite { 9 10 @State() finished = false; 11 @State() scores: Score = { 12 arsenal: 0, 13 chelsea: 0 14 } 15 componentDidLoad() { 16 console.log('cs') 17 var pusher = new Pusher('app-key', { 18 cluster: 'eu', 19 encrypted: true 20 }); 21 var channel = pusher.subscribe('soccer'); 22 channel.bind('scores', (data) => { 23 console.log(data) 24 if(data === 'Match End') { 25 console.log(data) 26 this.finished = true; 27 return; 28 } 29 this.scores = {...this.scores, ...data}; 30 console.log(this.scores); 31 }); 32 } 33 render() { 34 return ( 35 <div class="hero is-info is-fullheight"> 36 ... 37 </div> 38 ); 39 } 40 } 41 interface Score { 42 arsenal: number; 43 chelsea: number; 44 }
In the instance, we insert the free API key we get when signing up with Pusher and also set encrypted to true to ensure the traffic connection is encrypted.
Next, we subscribe to a soccer channel which could have multiple soccer related events. We then attach a scores event to listen to incoming data from the server.
Emitting Events from the Server
Create a server.js file then import and initialize Pusher:
1require('dotenv').config(); 2 const Pusher = require('pusher'); 3 const { PUSHER_APP_ID, PUSHER_KEY, PUSHER_SECRET, TIME } = process.env; 4 const pusher = new Pusher({ 5 appId: PUSHER_APP_ID, 6 key: PUSHER_KEY, 7 secret: PUSHER_SECRET, 8 cluster: 'eu', 9 encrypted: true 10 });
We are retrieving the Pusher credentials from the environment variables. You can do this using a .env file after configuring dotenv as seen above. Update the .env file with your Pusher credentials:
1PUSHER_APP_ID=APP-ID 2 PUSHER_KEY=APP-KEY 3 PUSHER_SECRET=APP-SECRET 4 TIME=5000
The TIME key is used in determining the interval at which the events are emitted.
Next, set up a setInterval logic to emit the scores of a match as object at every interval based on the TIME variable:
1let multiplier = 1; 2 const interval = setInterval(() => { 3 const scores = { 4 1: {chelsea: 0, arsenal: 1}, 5 2: {chelsea: 1, arsenal: 1}, 6 3: {chelsea: 2, arsenal: 1}, 7 4: {chelsea: 2, arsenal: 2}, 8 5: {chelsea: 3, arsenal: 2}, 9 6: 'Match End' 10 } 11 12 multiplier = multiplier + 1; 13 const scoreId = multiplier-1; 14 if (multiplier > 6) { 15 console.log('clearing'); 16 clearInterval(interval); 17 } 18 19 console.log(scores[scoreId]); 20 pusher.trigger('soccer', 'scores', scores[scoreId]); 21 }, multiplier * TIME);
The most significant part is using pusher to emit a score payload to the scores event via the soccer channel.
You can start the server by running the following command:
node server.js
Conclusion
It’s really exciting to see where the web is headed. The ability to create shareable web components and build realtime apps such as this with Pusher shows how far the limit can be pushed with web and mobile development. The concepts you have seen in this example is applicable also to server monitoring, shopping counters, admin dashboards, etc. Should you want to add other features to this app, you can check it out on GitHub. You can take a look at Pusher’s documentation as well as that of Stencil’s while you’re at it.


© 2024 Pusher Ltd. All rights reserved.
Pusher Limited is a company registered in England and Wales (No. 07489873) whose registered office is at MessageBird UK Limited, 3 More London Riverside, 4th Floor, London, United Kingdom, SE1 2AQ.