- Products

- Developers
- User stories
- Blog
- Pricing

Realtime error reporting and logs in JavaScript
The most common ways to achieve realtime error reporting are monitoring and notifications. This article explains how to monitor errors as they are thrown.
Introduction
This blog post was written under the Pusher Guest Writer program.
It’s not enough to have a central log and error logging system: good logs are characterized by realtime instant updates. There is a good reason for this, of course, as you never know what your customers are going through when using your product because you’re not standing behind them guiding them. Therefore, we need a way to be notified when they meet an unexpected behavior.
The most common ways to achieve realtime error reporting are monitoring and notifications. Both approaches are fine as long as they are used in the right situations. What is interesting about these approaches is that they share one common feature, which is providing log information immediately it is generated to all connected clients.
This article explains a practical approach of using Pusher, a realtime Pub/Sub service, to monitor errors (especially uncaught ones) when they are thrown.
We will create a basic browser app that simulates a real life app throwing an error. We will throw errors intentionally by clicking a button or two. The plan is, when this error is thrown, a global error event handler is setup which its handler will send as a request to a server via XHR.
The server is then going to use Pusher triggers to emit events that an error has occurred so all connected clients can subscribe to the event. In our case, we just have one connected client which displays errors as cards in realtime.
The app we will build will consist of two parts:
- Client: This is the customer facing app that has the tendency to throw errors. In our case, we will just be generating deliberate errors with the click of a button.
- Server: The client just generates errors and notifies the server. The server is then responsible for logging the errors and displaying them on all connected clients using Pusher events.
Client errors
The first thing we need to work on is the client which contains the error-throwing buttons. Basically, we will create a few buttons that have event listeners attached to them. Here is basic markup to actualize our idea:
1<!-- index.html --> 2<div class="main"> 3 <div class="container"> 4 <h1>We love errors!</h1> 5 <h4>...and promise to throw some in REALTIME</h4> 6 <div class="button-group"> 7 <button>Throw</button> 8 <button>some more...</button> 9 </div> 10 </div> 11 </div> 12 <script src="https://cdnjs.cloudflare.com/ajax/libs/axios/0.16.2/axios.js"></script> 13 <script src="app.js"></script>
For simplicity’s sake, the head tag is not included. It just imports a basic CSS file which you can find in the Codepen demo at the end of the article. Below is a screenshot of the outcome:
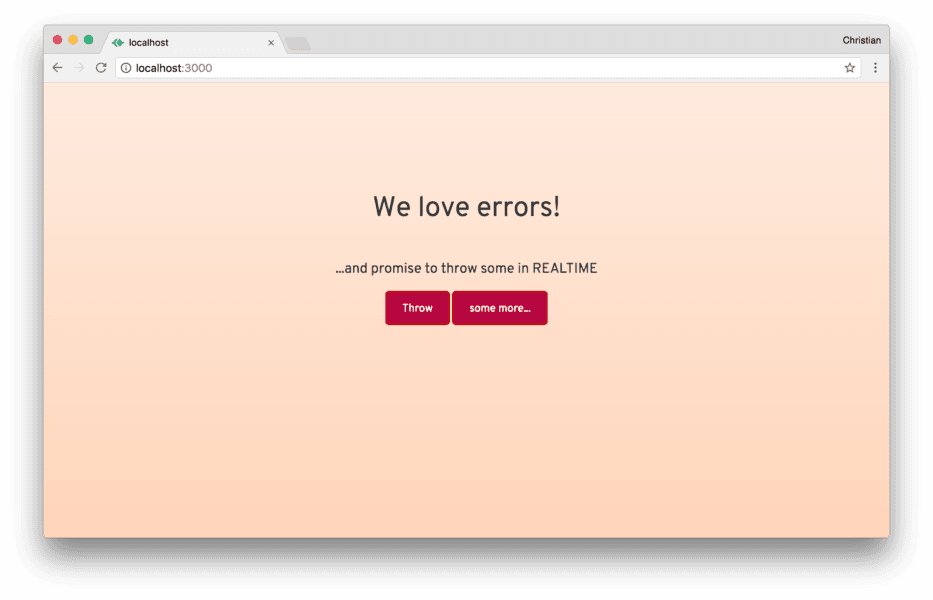
The most important functions are the two buttons. When each of the buttons is clicked, an error is thrown with a different error message.
Axios, the CDN external JS file, is a utility library for making HTTP requests. We need this to send an HTTP request when an error occurs. app.js is our custom JavaScript file which we will address its content now.
Attaching Events
We need to attach events to both the buttons and the window. Before doing so, let’s create a constructor function for the app:
1// app.js 2(function() { 3 // Constructor function 4 function App (){ 5 // Grab all events 6 this.buttons = document.querySelectorAll('button'); 7 } 8 9}())
Now, create a method that attaches an event listener to both buttons:
1// ... 2App.prototype.attachEvents = function() { 3 // Button Events 4 this.buttons.forEach((button, index) => { 5 button.addEventListener('click', () => { 6 if(index === 0) { 7 // yet to be created 8 // but throws error 9 this.throwDefault() 10 } else { 11 // yet to be created 12 // but throws another error 13 this.throwSomeMore() 14 } 15 }) 16 }) 17 18 // Window error events 19 } 20// ...
We already know what the button events do, but why do we need to attach an event to the window object? Browsers allow you to catch errors globally using the error event. Therefore, whenever an error occurs in your app, this event will be triggered. This error event can be attached to the window object:
1App.prototype.attachEvents = function() { 2 // Button events 3 4 // Window error event 5 window.addEventListener('error', e => { 6 // when an error occurs, 7 // send the error information 8 // to our yet to be created server 9 this.sendPayloadToServer({ 10 lineno: e.lineno, 11 colno: e.colno, 12 filename: e.filename, 13 message: e.error.message, 14 stack: e.error.stack 15 }) 16 }) 17 }
Throwing errors
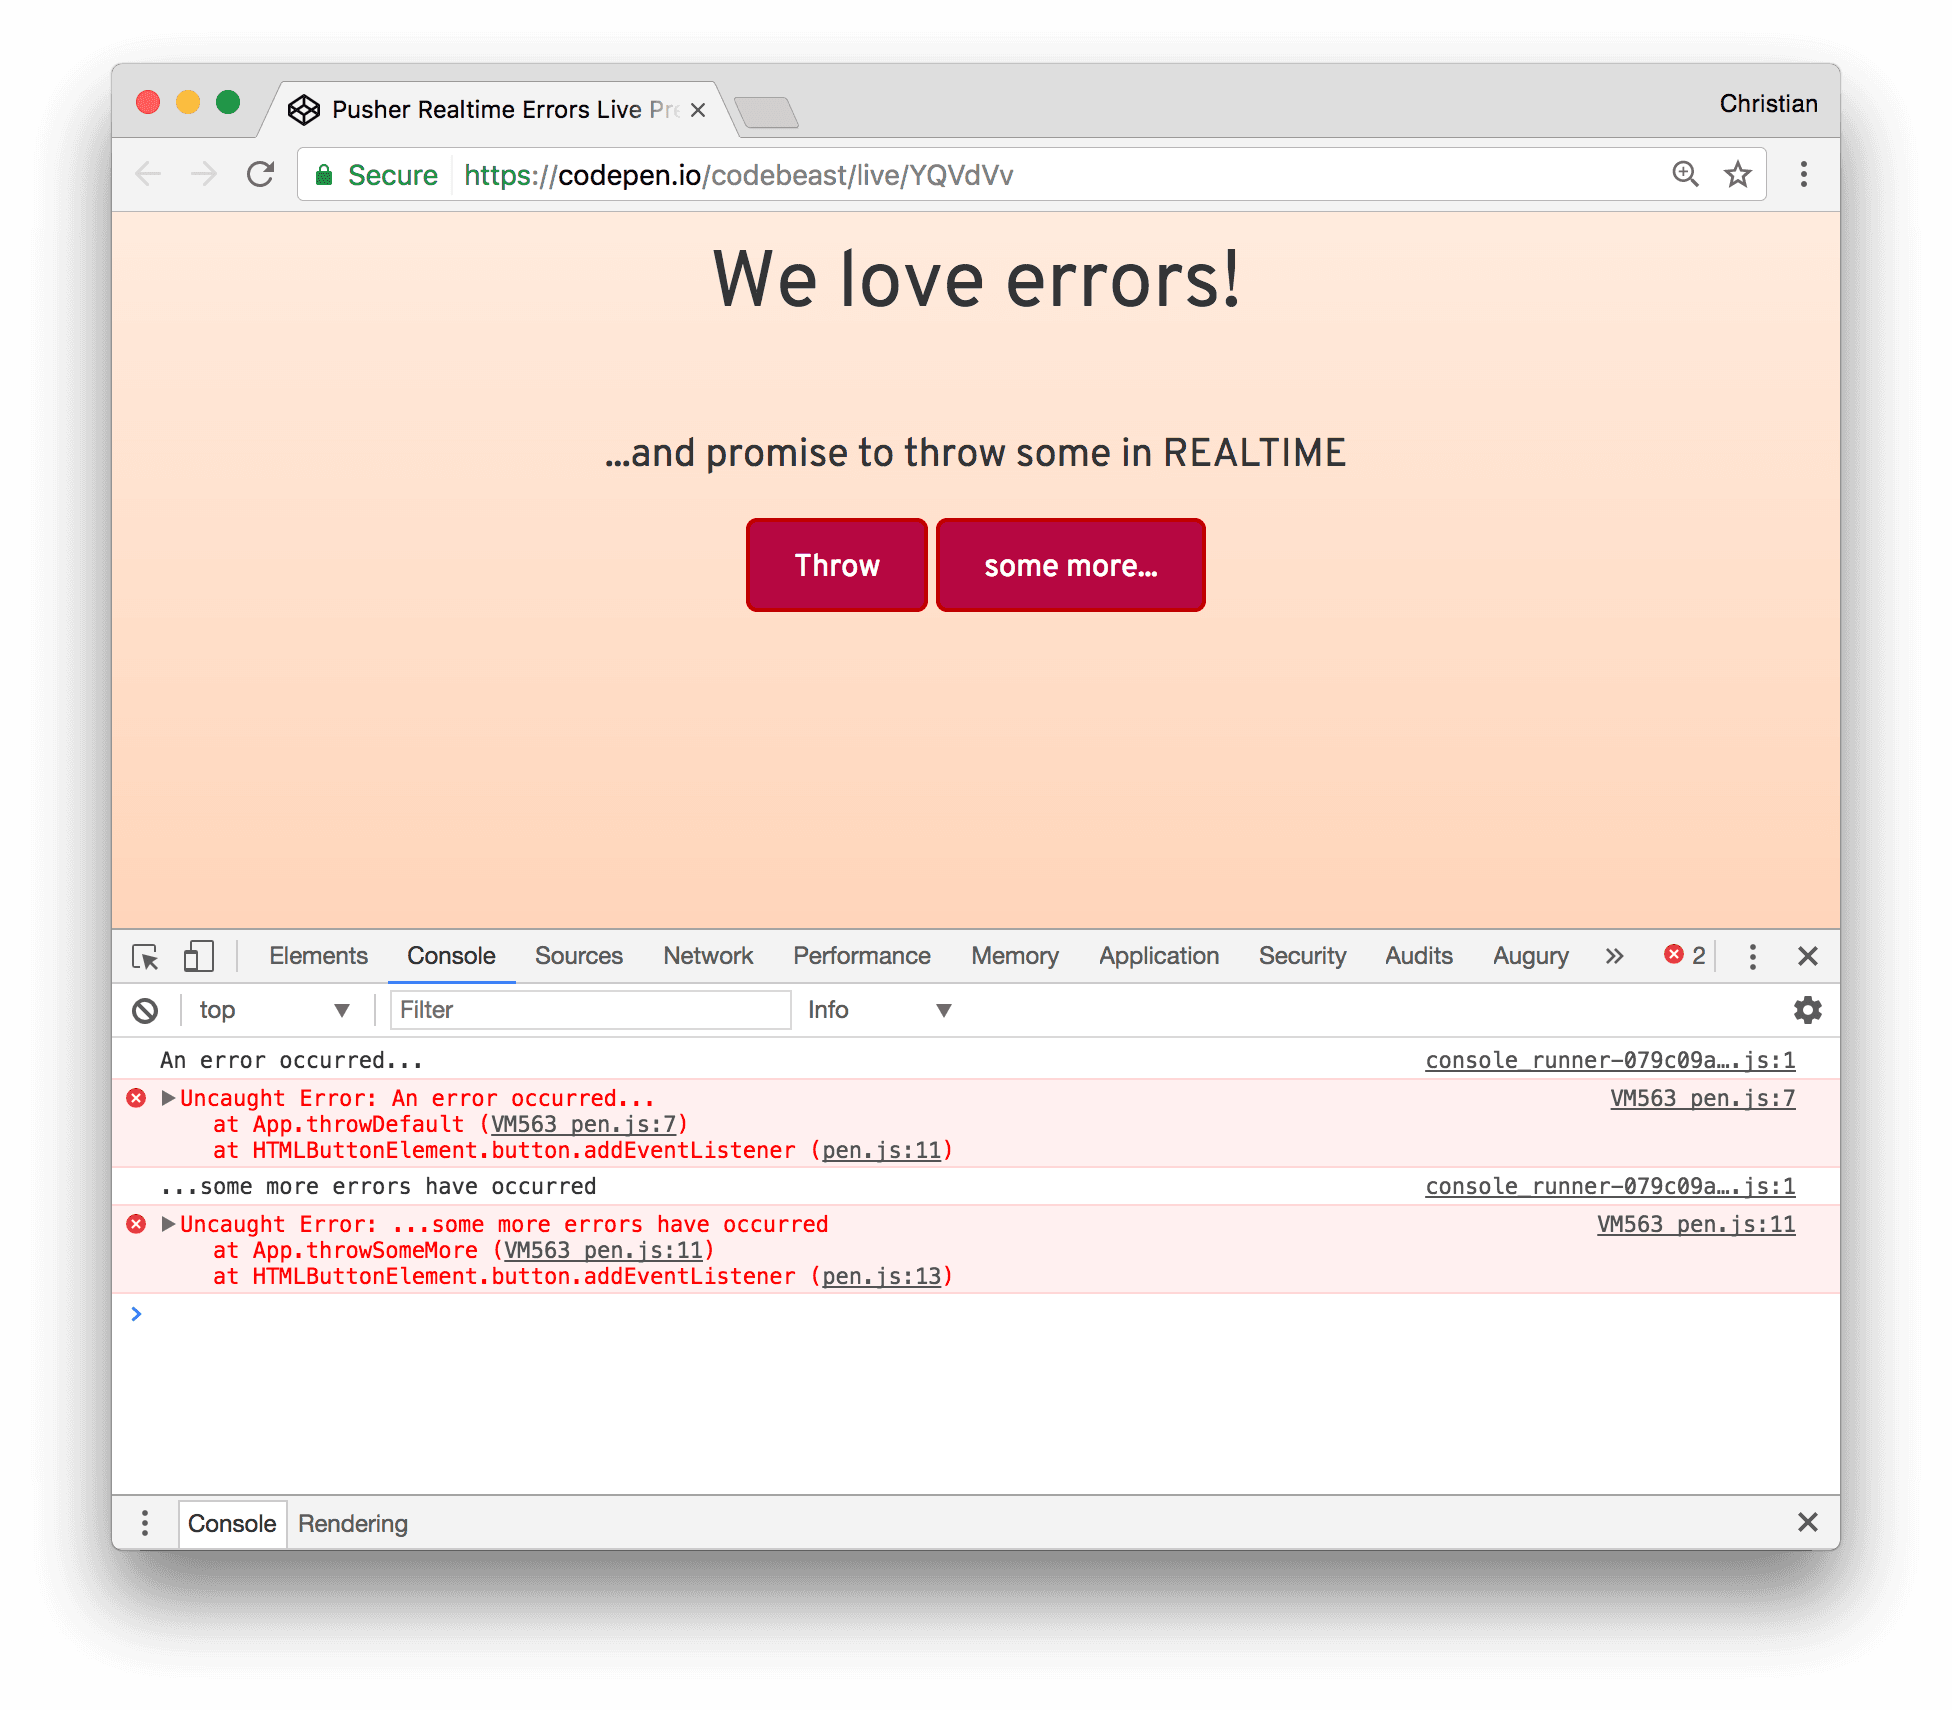
throwDefault and throwSomeMore are the methods called when the buttons are clicked. Let’s create them and use them to throw errors:
1App.prototype.throwDefault = function() { 2 throw new Error('An error occurred...') 3} 4 5App.prototype.throwSomeMore = function() { 6 throw new Error('...some more errors have occurred') 7}
The console shows the errors thrown:
Send errors to server
Remember, when errors occur, they are handled by the error event on window. The event handler sends these errors as payload to the server using sendPayloadToServer. Let’s see what the function looks like:
1App.prototype.sendPayloadToServer = function(e) { 2 // send error to server endpoint 3 axios.post('http://localhost:5000/report/error', e) 4 .then(data => { 5 console.log(data); 6 }) 7 }
The error payload is sent to the /report/error endpoint which we will create while talking about the server. axios is used to make this request by calling the post method which takes the URL and the payload and returns a promise.
Provision a Server
Right now we have a client sending errors to a server that doesn’t exist. Guess it’s time we do something about that.
Since we’re speaking JavaScript, let’s provision a server with Node using the Express Generator. To be able to do that, we need to install the generator globally, before generating an app:
1# Install express generator 2# globally 3npm install -g express-generator 4# Generate an app called 5# error-server with ejs as view template 6express --view=ejs error-server
The following image shows the output of generating a new express app:
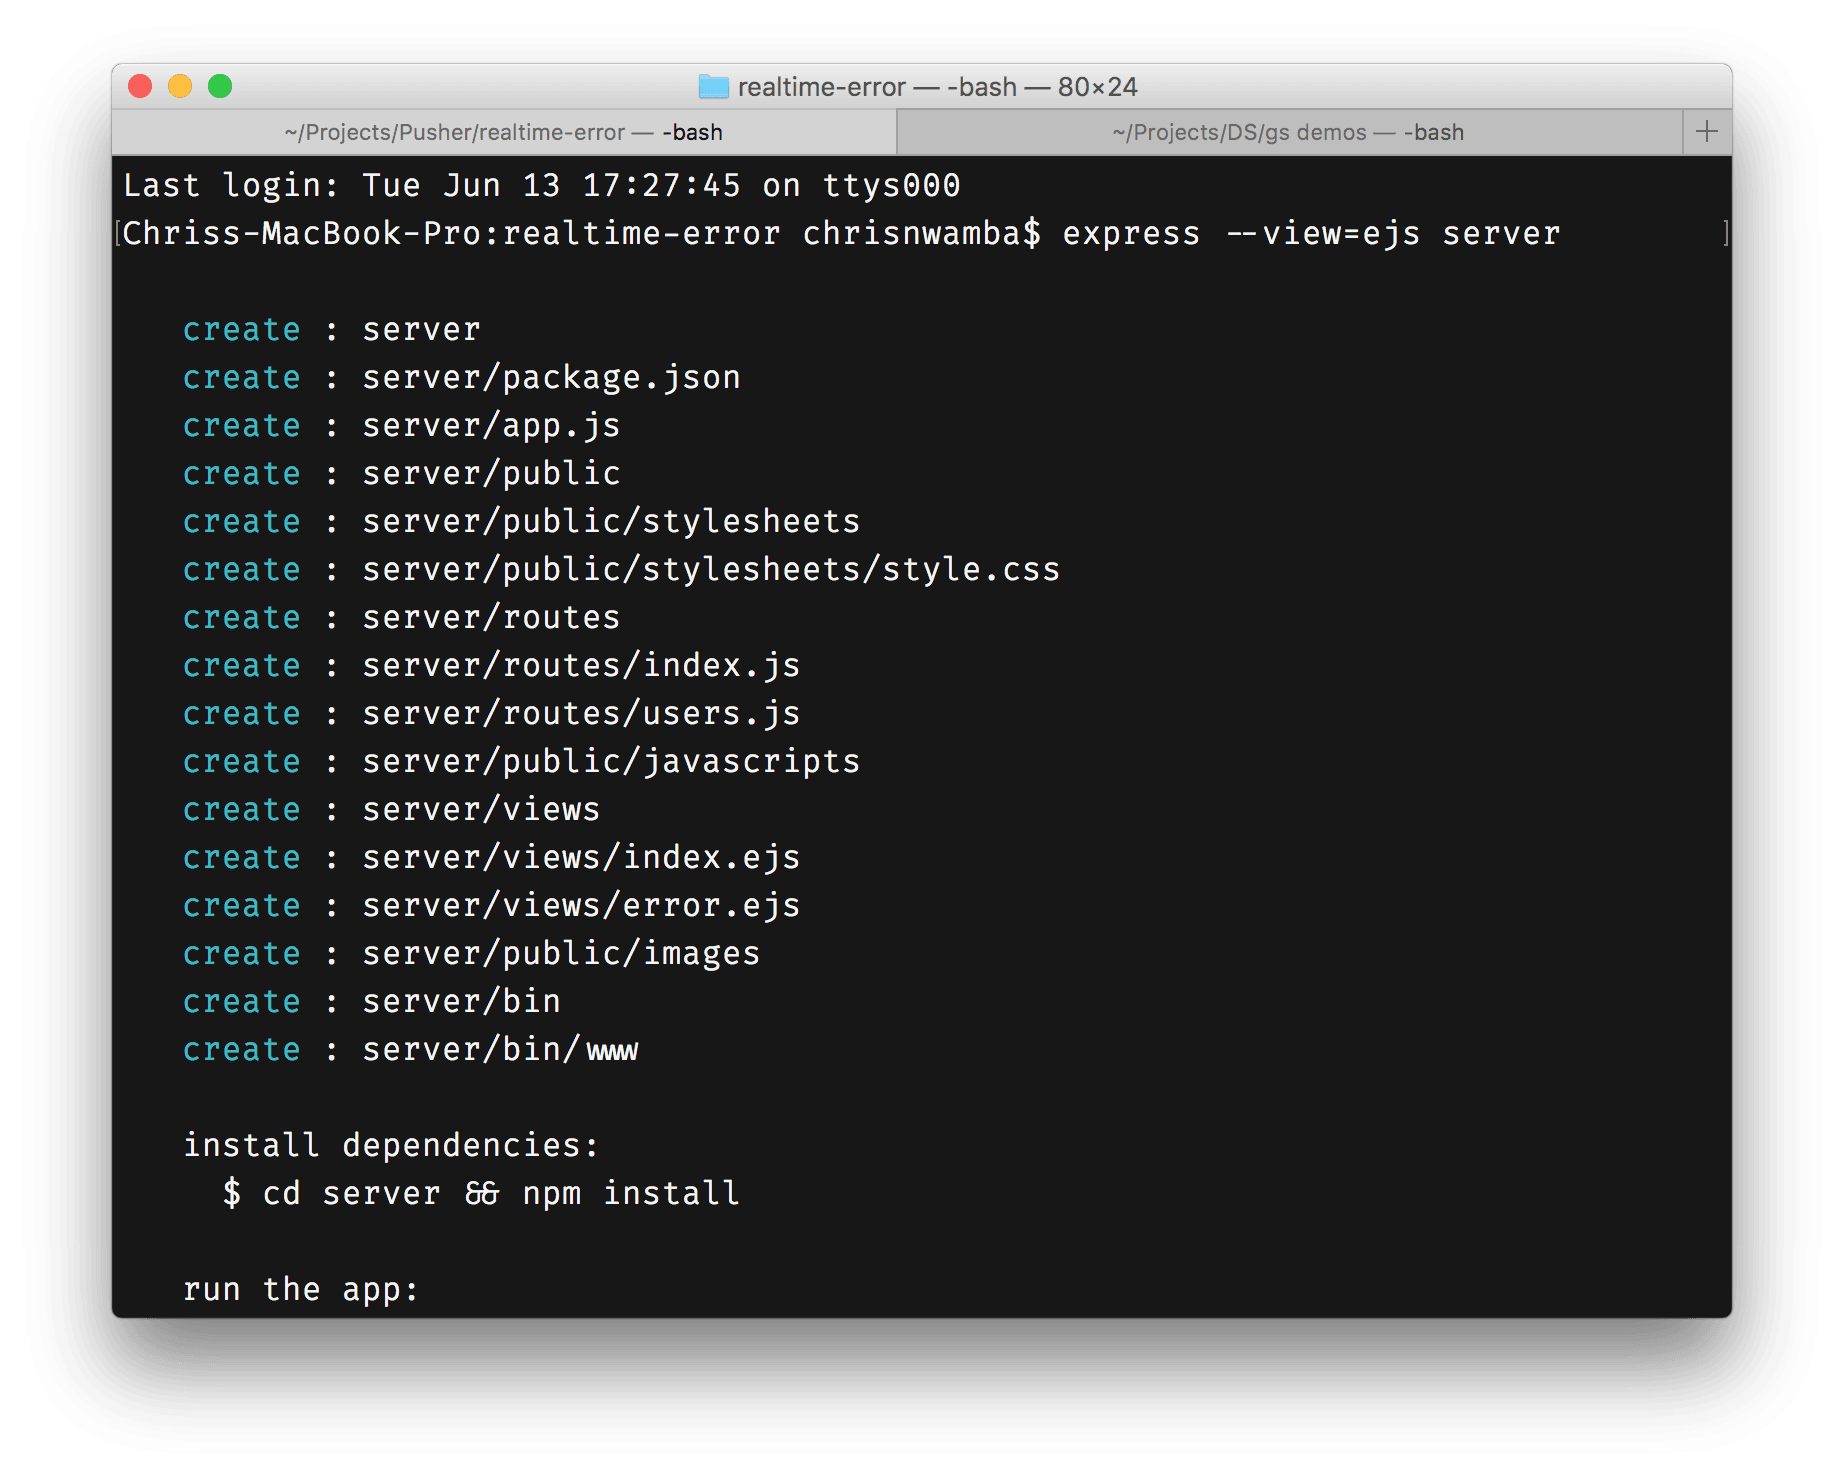
What Express does is beyond the scope of this article; it’s a routing framework for Node and you can learn more about it on the website.
Enabling CORS
Forgetting CORS issues is easy. We are dealing with two different apps that are running from different domains. Hence, we need to let the server know about that by allowing CORS. This can be done from the entry file, app.js right before importing the routes:
1// ./app.js 2//... 3// CORS 4app.all('/*', *function*(req, res, next) { 5 *// CORS headers* 6 res.header("Access-Control-Allow-Origin", "*"); *// restrict it to the required domain* 7 res.header('Access-Control-Allow-Methods', 'GET,POST'); 8 *// Set custom headers for CORS* 9 res.header('Access-Control-Allow-Headers', 'Content-type,Accept,X-Access-Token,X-Key'); 10}); 11 12// Routes must come after 13// enabling CORS 14var index = require('./routes/index'); 15var report = require('./routes/report'); 16 17app.use('/', index); 18app.use('/report/error', report);
It’s important that you place the CORS middleware before the routes.
Creating error handler route
The /routes/error route shown above is yet to be created but its handler is being imported. This is the route which our client app sends a post request to. Let’s create it:
1// ./routes/report.js 2const express = require('express'); 3const router = express.Router(); 4 5router.post('/', (req, res, next) => { 6 // Emit a realtime pusher event 7 res.send(req.body); 8});
Right now it does nothing more than sending us back what we sent to it. We want it to trigger a Pusher event.
Pusher events
Pusher is known for the Pub/Sub (Event) pattern it introduces to building realtime solutions. This pattern is easy to work with because developers (even beginners) are used to writing events.
The event publisher is the source of event and payload, while the subscriber is the consumer of the event and payload. An example will explain this better:
1// ./routes/report.js 2 3// Import the Pusher 4// JS SDK 5const Pusher = require('pusher'); 6 7// Configure with the 8// constructor function 9const pusher = new Pusher({ 10 appId: 'APP-ID', 11 key: 'APP-KEY', 12 secret: 'APP-SECRET', 13 cluster: 'CLUSTER', 14 encrypted: true 15}); 16 17/* Handle error by emitting realtime events */ 18router.post('/', (req, res, next) => { 19 // emit an 'error' event 20 // via 'reports' channel, 21 // with the request body as payload 22 pusher.trigger('reports', 'error', req.body); 23 res.send(req.body); 24}); 25 26module.exports = router;
For the above to work, you need to install the Pusher SDK:
1npm install --save pusher
The code samples show how to configure Pusher using the Pusher constructor function. The function is passed a config object with the credentials you receive when you create a Pusher App. Feel free to take the steps in the Appendix section at the bottom of this article to setup a Pusher account/app, if you don’t have one already.
The configured app is used in the route to trigger an event when the route is hit.
The next question is, where do we listen to these events and act accordingly? To answer that, we need to create an admin dashboard on the server app that listens for these events and acts on them.
Listing errors
We have generated errors intentionally. We are reporting them to the server, and the server is acting on it. How do we know when the errors come in?
Note there is one route, / , which we have not attended to. This route just renders an ejs template view:
1// ./routes/index.js 2var express = require('express'); 3var router = express.Router(); 4 5/* GET home page. */ 6router.get('/', function(req, res, next) { 7 res.render('index'); 8}); 9 10module.exports = router;
The page rendered can be used to display a list of errors in realtime. This is what the simplified HTML looks like:
1<!-- ./views/index.ejs --> 2<div class="container"> 3 4 <h1 class="text-center">Error Log</h1> 5 6 <div class="error-cards row"> 7 8 <div class="col-md-4 card-template"> 9 <div class="error-card"> 10 <h4>Error message: something went wrong acd</h4> 11 <p>Stack Trace: Lorem ipsum dolor sit amet,...</p> 12 <div class="error-details"> 13 <h4><a href="">file.js</a></h4> 14 <p>21:11</p> 15 </div> 16 </div> 17 </div> 18 19 </div> 20 21</div> 22<script src="https://js.pusher.com/4.0/pusher.min.js"></script> 23<script src="/javascripts/app.js"></script>
The template contains a card widget which is hidden by default using CSS. The display property is applied using the card-template class:
1/* ./public/stylesheets/style.css */ 2.card-template { 3 display: none 4}
The plan is, when the payload come in, we clone the template, remove the card-template class, update the text contents with the payload values, and append to the HTML.
We also import the Pusher SDK because we need to listen to the error event.
app.js file is responsible for this:
1// ./public/javascripts/app.js 2 3(function(){ 4 function App () { 5 // card template and cards parent 6 this.cardTemplate = document.querySelector('.card-template'); 7 this.errorCards = document.querySelector('.error-cards'); 8 } 9 10 // creates a card by cloning card template 11 // and updates the card with data 12 // from pusher subscription 13 App.prototype.updateCard = function(data) { 14 // clone template 15 const card = this.cardTemplate.cloneNode(true); 16 17 // update card contents and attributes 18 card.classList.remove('card-template'); 19 card.querySelector('.error-card > h4').textContent = data.message; 20 card.querySelector('.error-card > p').textContent = data.stack; 21 card.querySelector('.error-details > h4 > a').textContent = data.filename; 22 card.querySelector('.error-details > h4 > a').setAttribute('href', data.filename) 23 card.querySelector('.error-details > p').textContent = `${data.lineno}:${data.colno}`; 24 25 // append to parent 26 this.errorCards.appendChild(card); 27 } 28 29 // sets up the app 30 App.prototype.boot = function() { 31 // allow pusher to log to your console 32 // DO THIS ONLY IN DEV 33 Pusher.logToConsole = true; 34 35 // configure pusher with app key 36 const pusher = new Pusher('<APP-KEY>', { 37 cluster: 'CLUSTER’, 38 encrypted: true 39 }); 40 41 // subscribe to 'reports' channel 42 const channel = pusher.subscribe('reports'); 43 // bind to error events to receive payload 44 channel.bind('error', (data) => { 45 console.log('-- pusher --', data) 46 // update cards 47 this.updateCard(data); 48 }); 49 } 50 51 var app = new App(); 52 app.boot(); 53}())
The constructor function, App, is created with reference to the card template and the card’s parent (where we will attach real cards).
When the app is loaded, we first configure Pusher with the app key. The instance is used to subscribe to the reports channel and bind to the error event. The bind method takes a callback which is where the UI is updated with updateCard.
This is a screenshot of the listing screen:
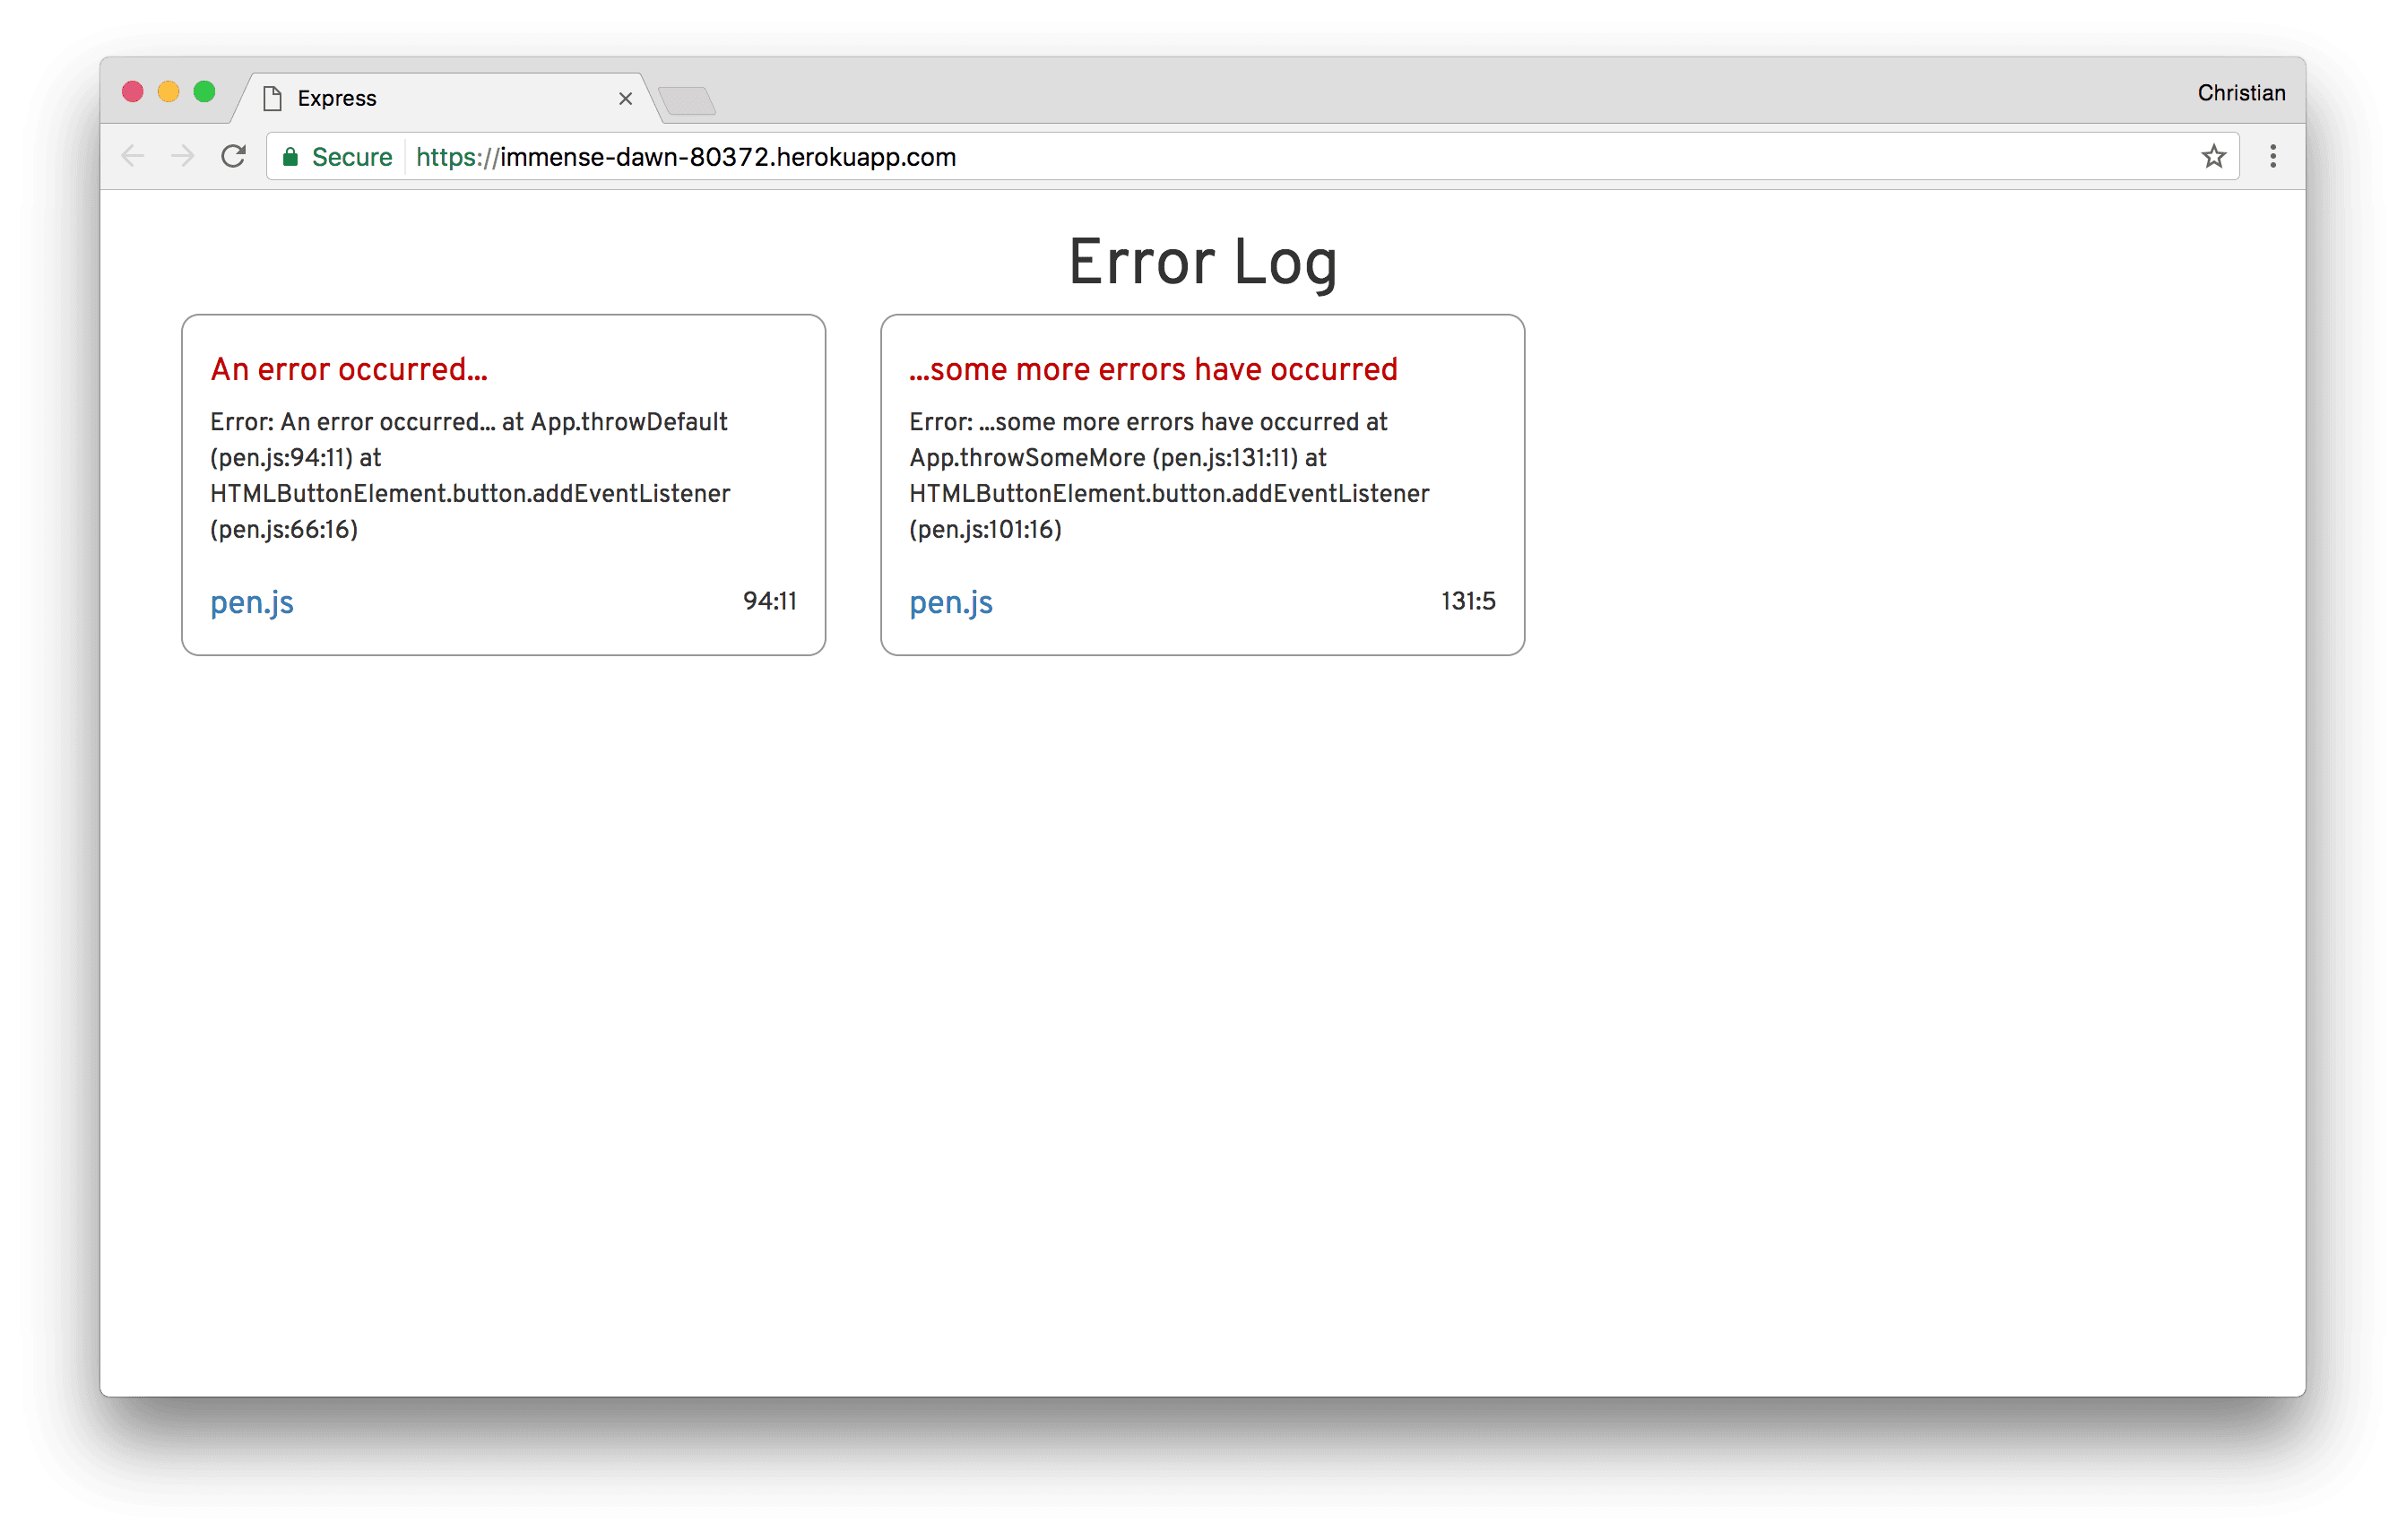
…and a GIF showing the realtime updates
Conclusion
You have learned a better way to handle errors. Now you can give your customers the support they deserve, by responding promptly to the errors they encounter while using your apps.
Feel free to access any of the resources:
Appendix: Set up a Pusher account/app
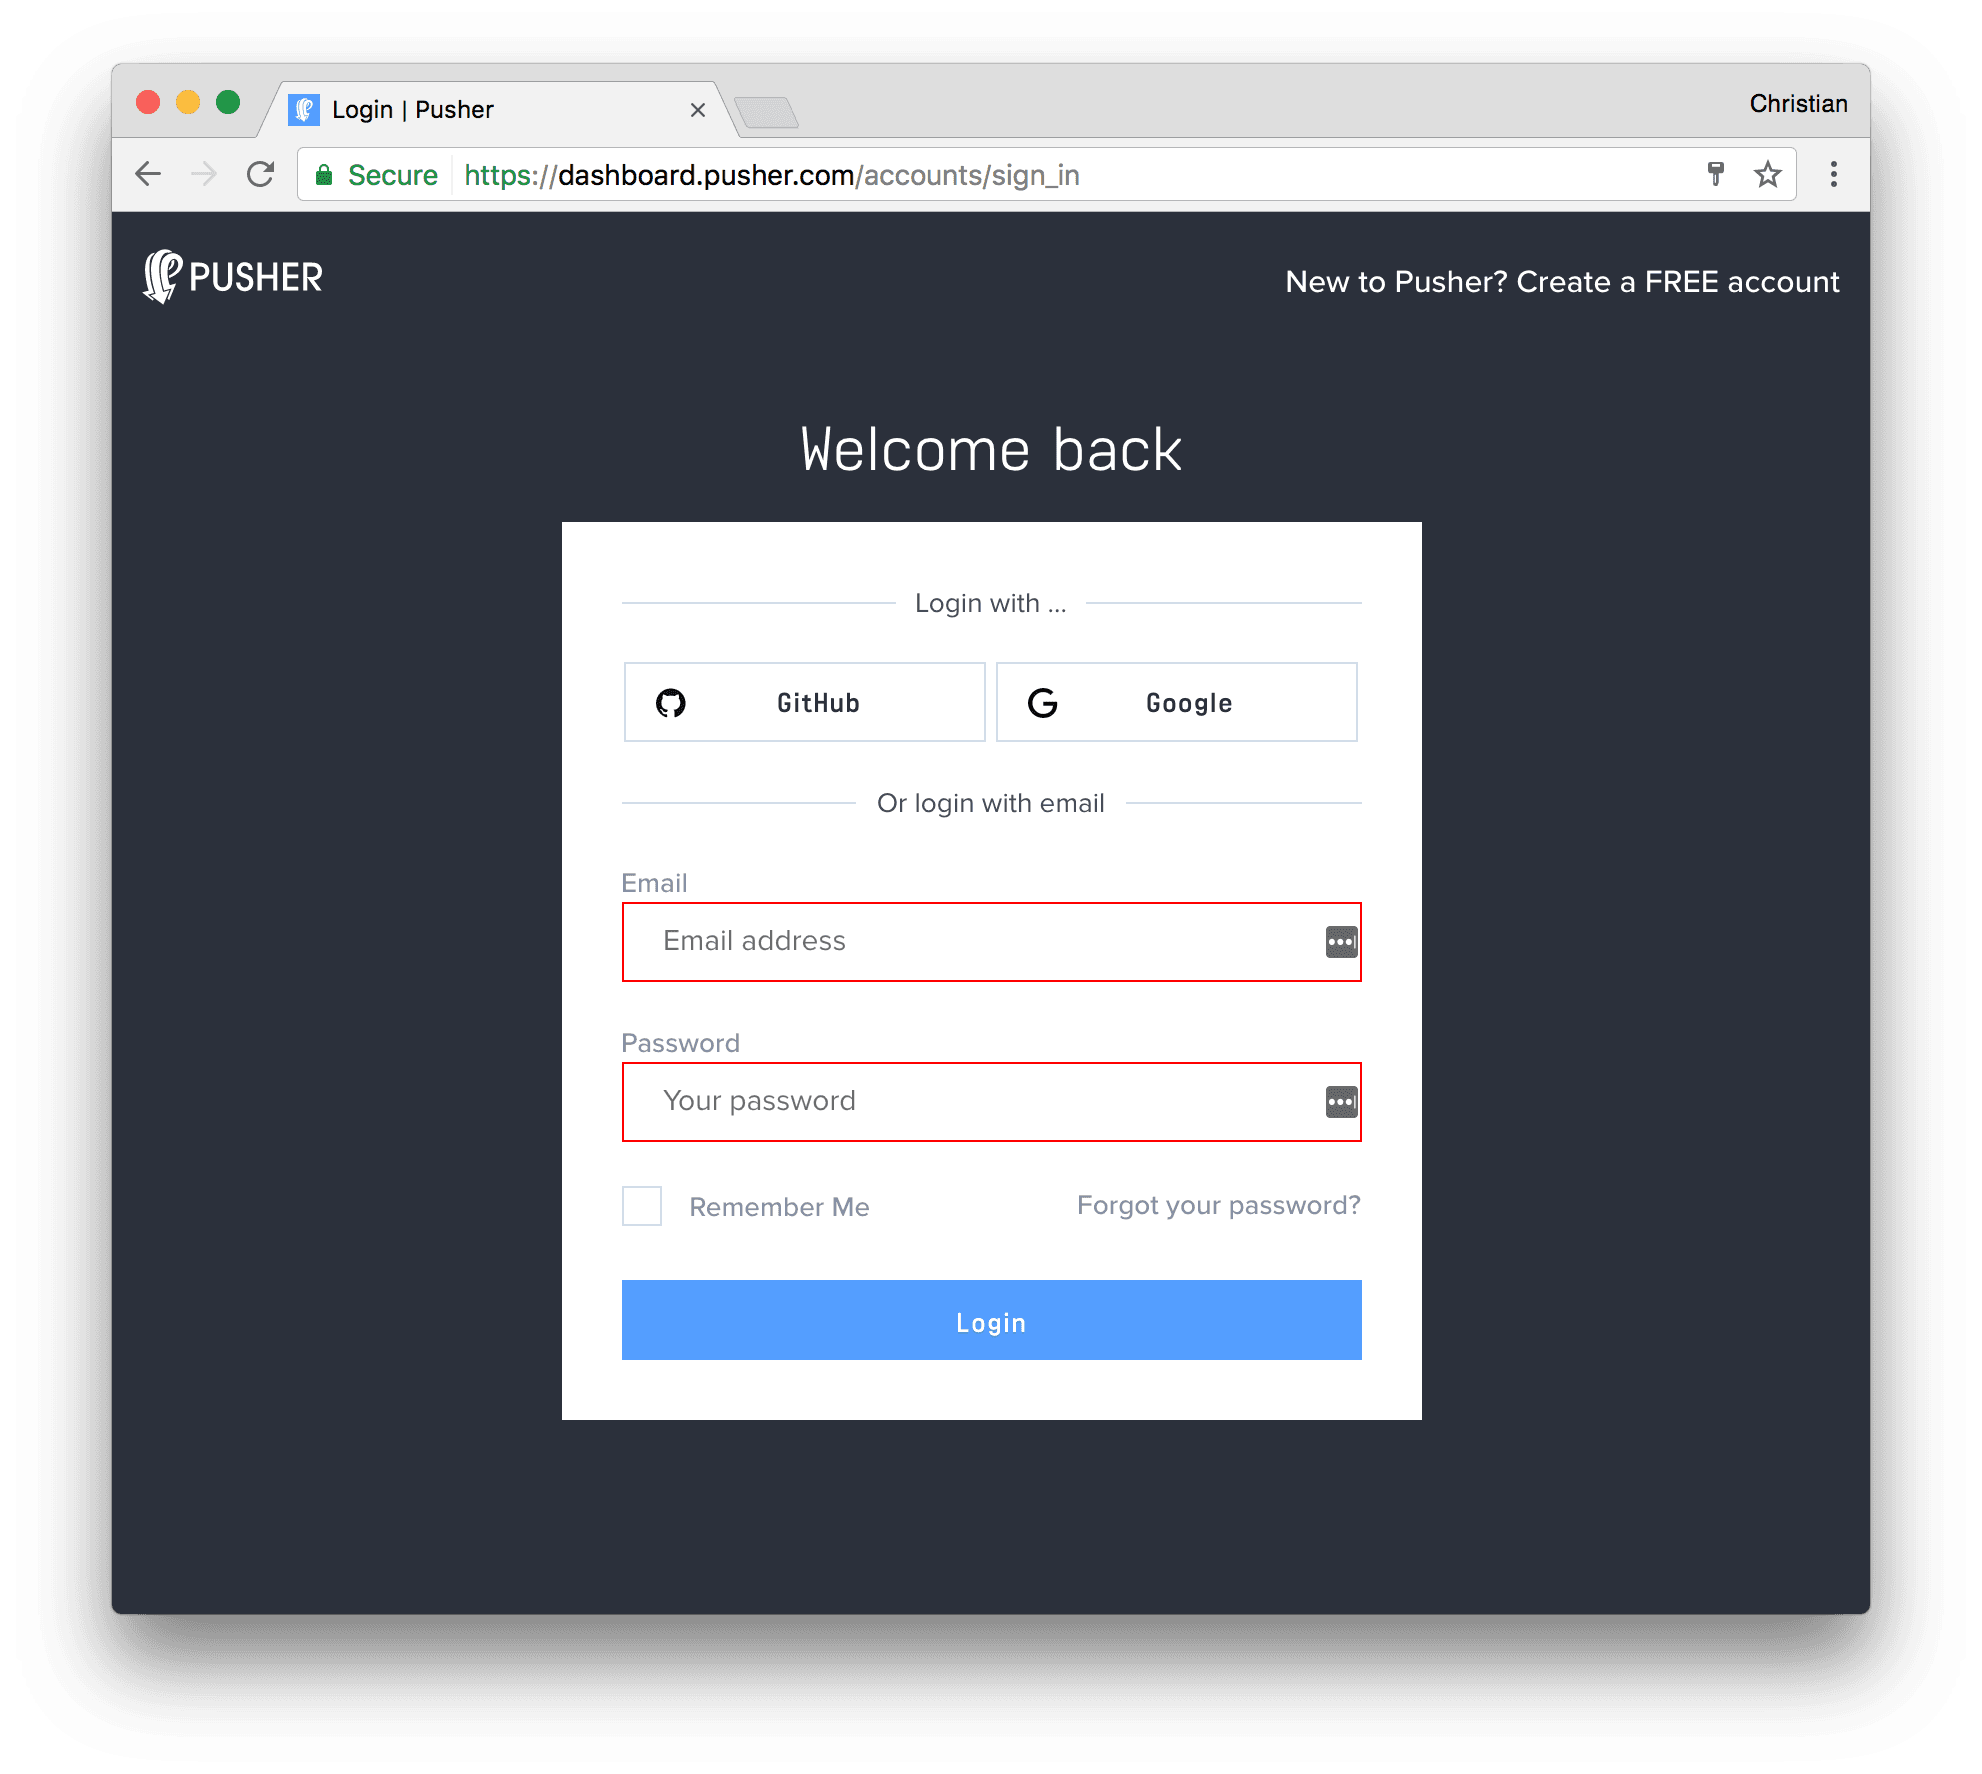
- Sign up for a free Pusher account
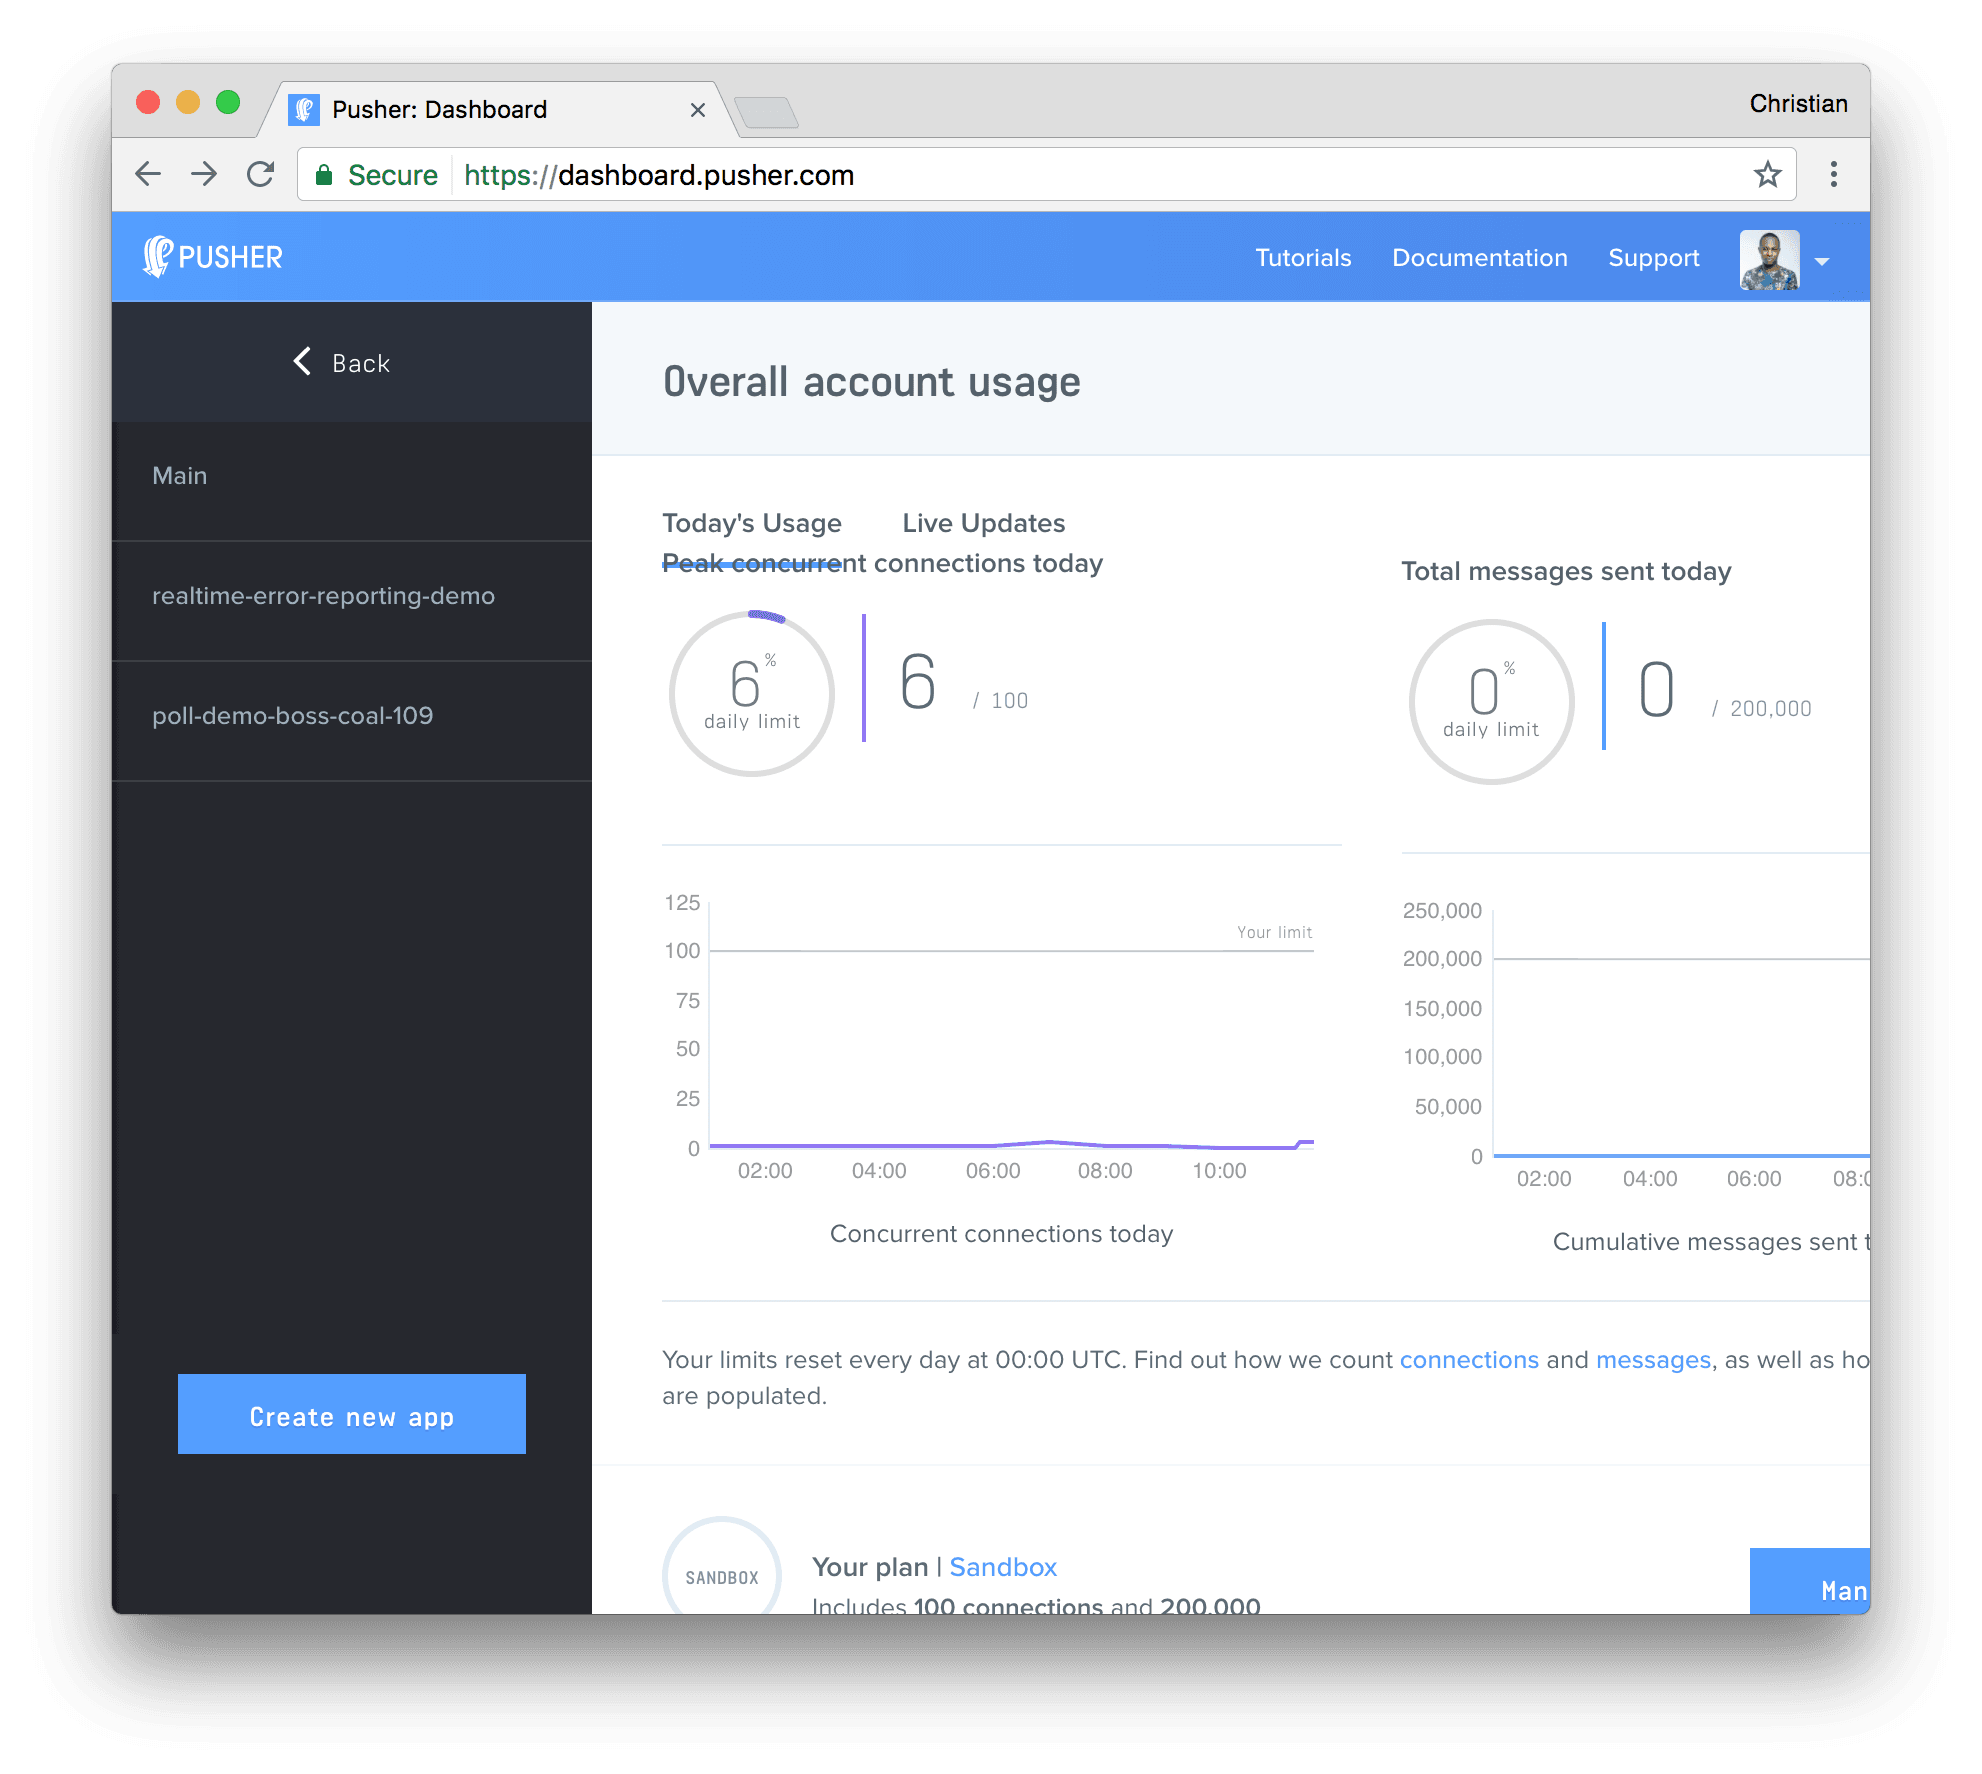
- Create a new app by selecting Apps on the sidebar and clicking Create New button on the bottom of the sidebar:
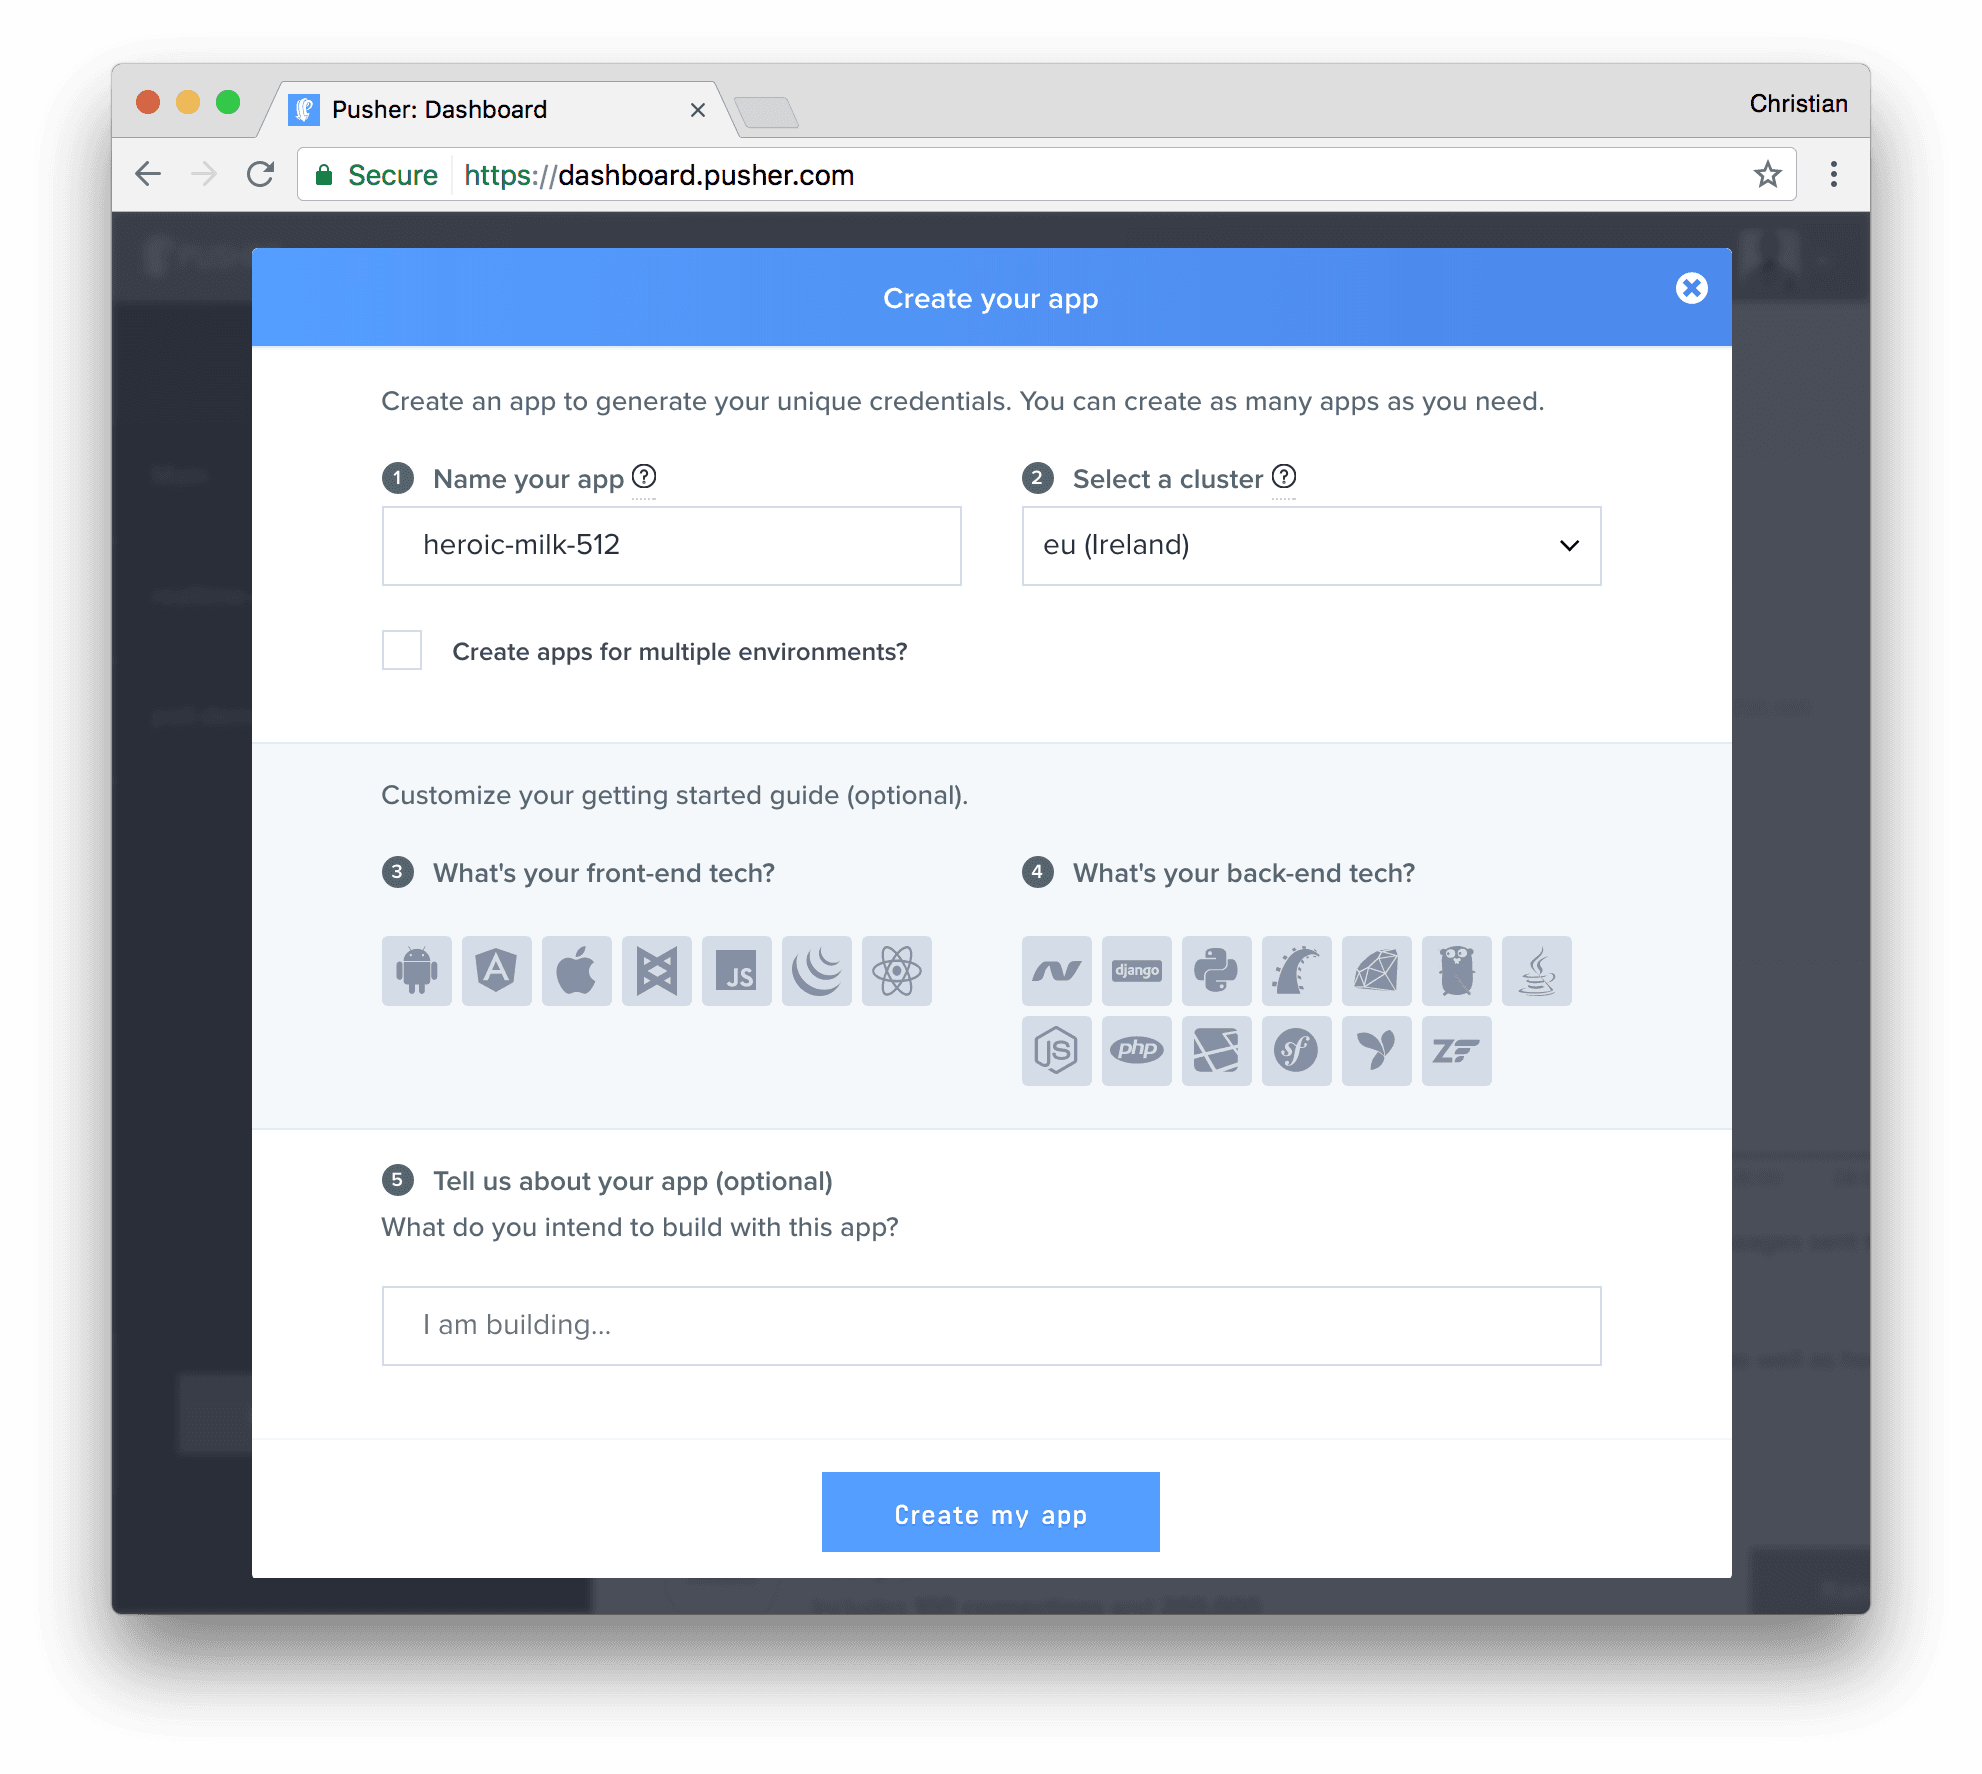
- Configure an app by providing basic information requested in the form presented. You can also choose the environment you intend to integrate Pusher for a better setup experience:
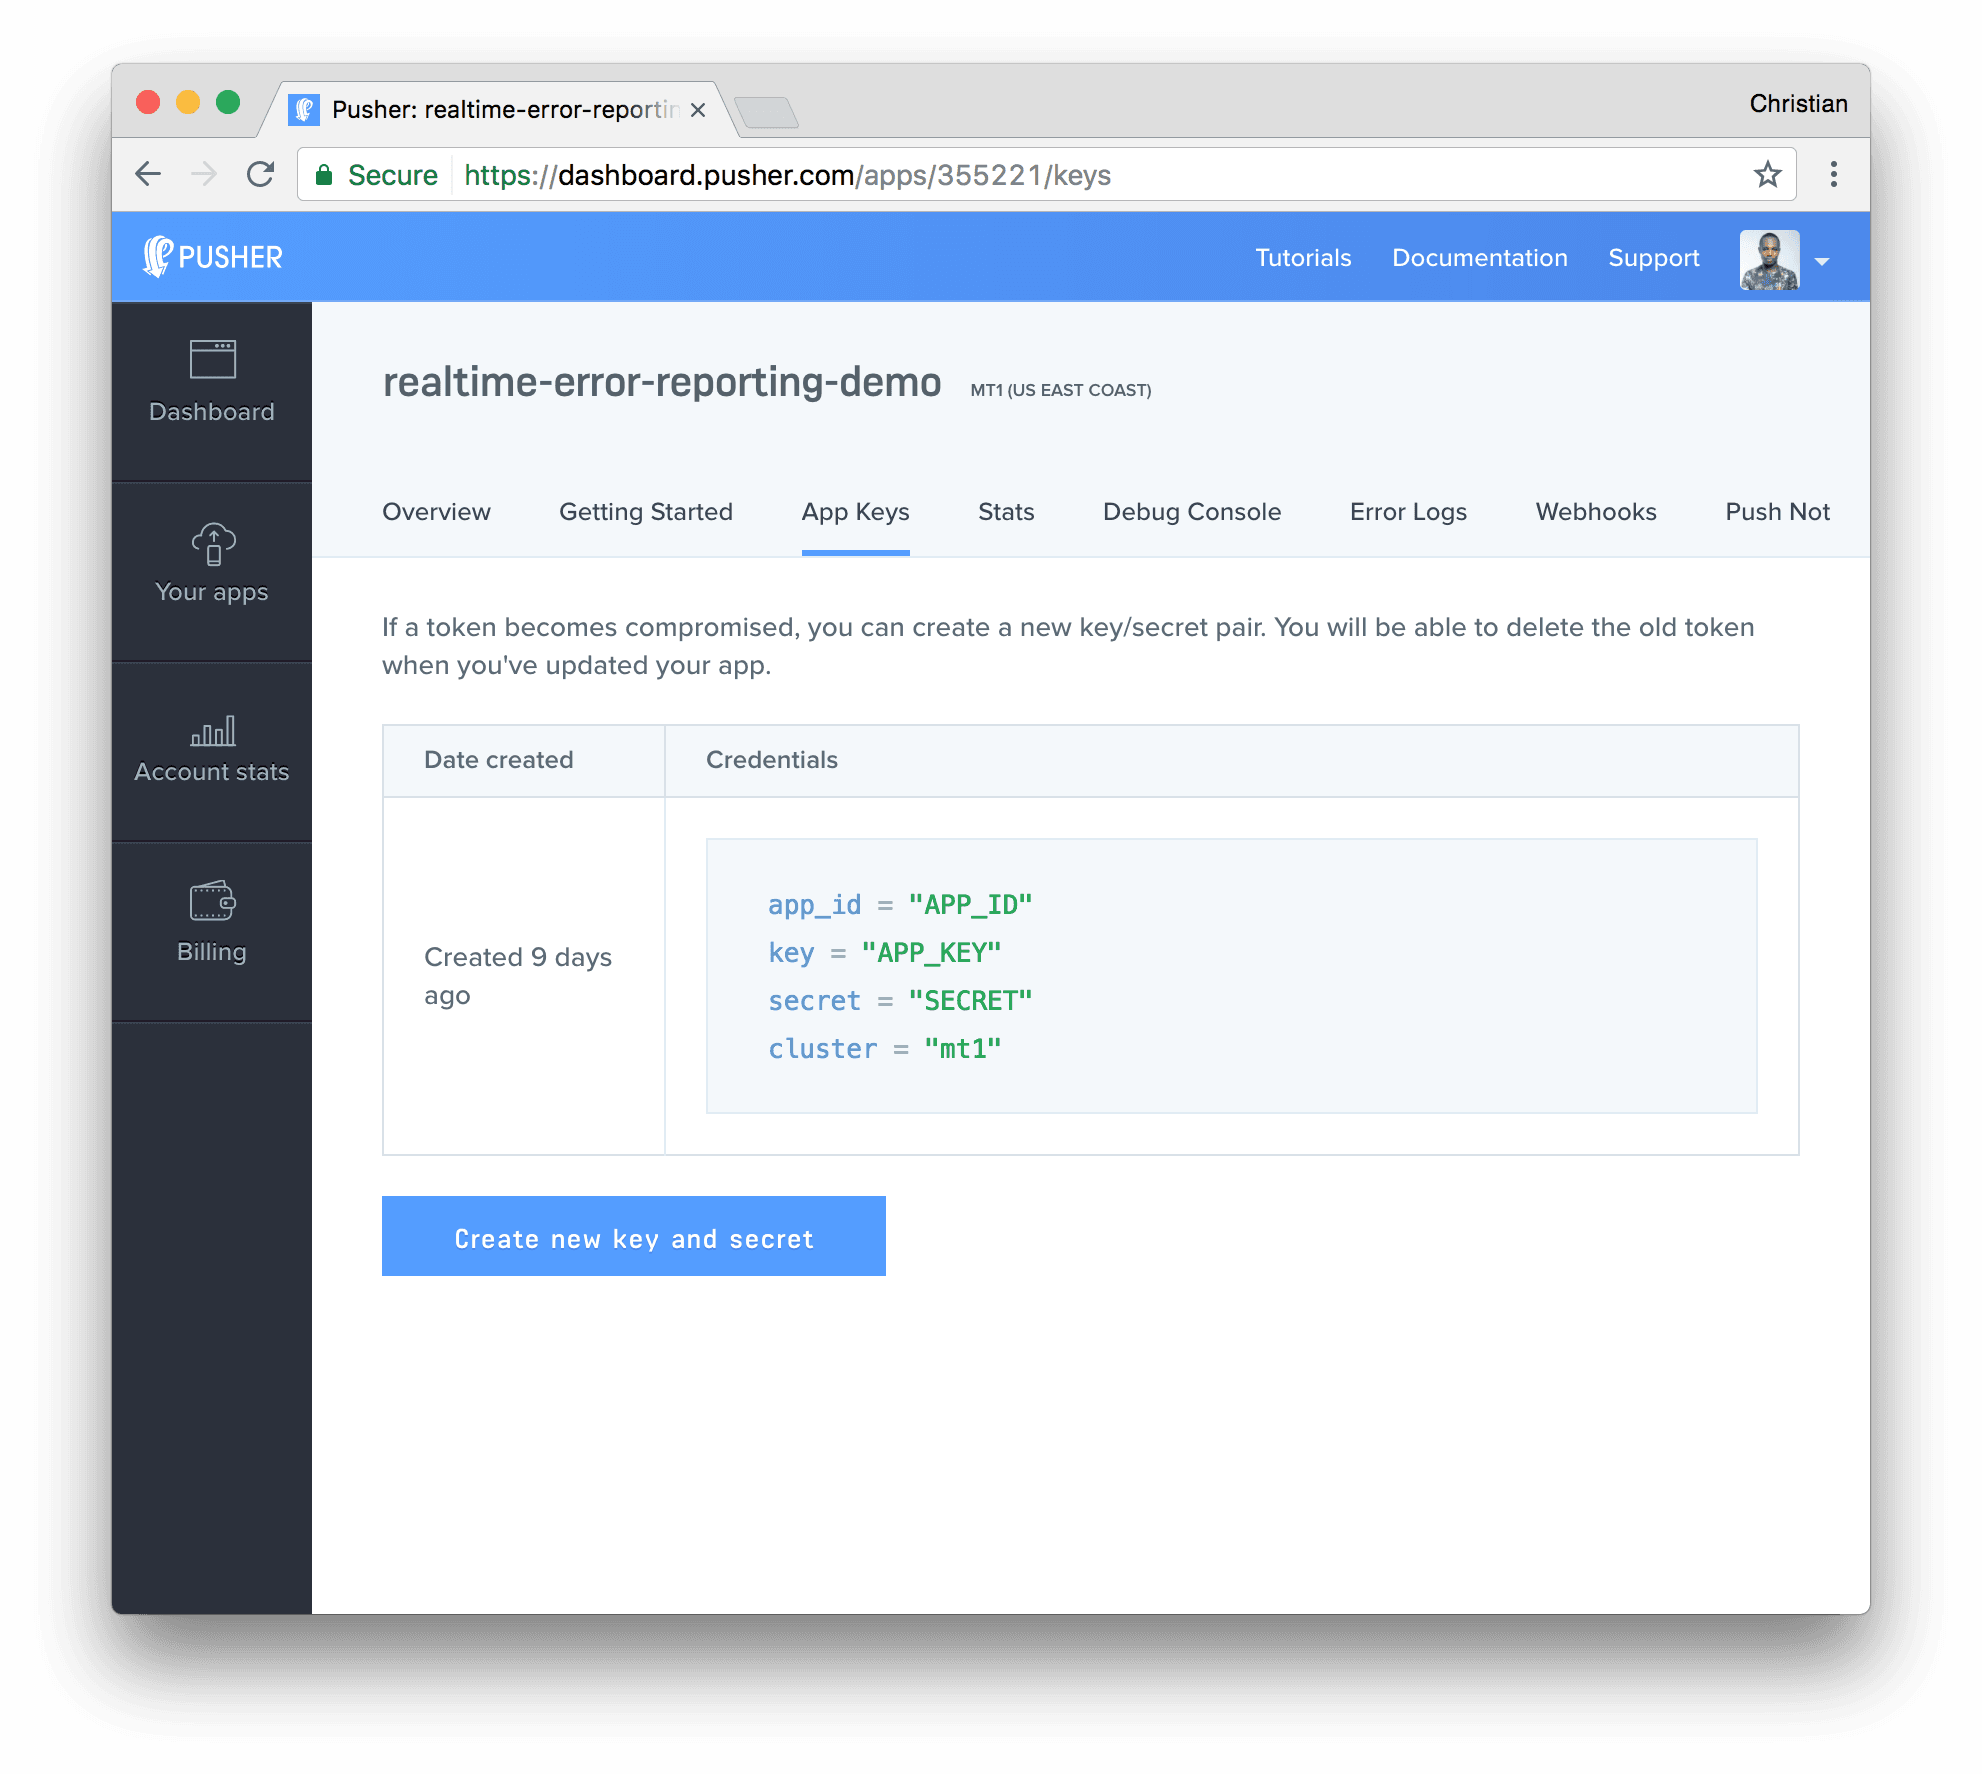
- You can retrieve your keys from the App Keys tab


© 2024 Pusher Ltd. All rights reserved.
Pusher Limited is a company registered in England and Wales (No. 07489873) whose registered office is at MessageBird UK Limited, 3 More London Riverside, 4th Floor, London, United Kingdom, SE1 2AQ.