- Products

- Developers
- User stories
- Blog
- Pricing

Make an OAuth2 server using Laravel Passport

In this tutorial, you will learn how you can use Laravel Passport to create your own full-fledged OAuth2 server.
Introduction
If you have ever had to create an OAuth server you would agree with me that it can be difficult and time-consuming. Luckily, there is a Laravel package that makes this job easier: Laravel Passport. In this article, we will consider how you can use this amazing package to create your own OAuth server.
For this article, we will be leveraging on an existing Laravel application. A todo application built using Laravel. We will assume, for the sake of this article, that you have created the application and it already works, but you want to add an OAuth server so other applications can connect to the service securely.
The source code to the todo application is available on GitHub.
⚠️ This is not an OAuth or Laravel tutorial, so this article will focus solely on how you can use Laravel Passport to create an OAuth server on an existing application. If you want to learn more about Laravel or OAuth, you can look here.
Setting up our application without an OAuth server
Before we start setting up, make sure you have the following requirements ready as they will be necessary to follow through this article:
- NPM installed on your local machine.
- PHP 7 or later installed locally.
- Composer installed on your local machine.
- Knowledge of Laravel PHP framework.
- Knowledge of OAuth and how it works.
Now that the requirements are defined, let’s move on. The first thing you need to do is download or clone the entire repository to the application we want to create.
Anatomy of the downloaded repository
Let us quickly look at what we have downloaded. There are three directories; all of them are Laravel applications. In the directory we have:
- The to-do app without OAuth server installed (our starting point).
- The completed to-do app with the OAuth server installed (for reference).
- The consumer app (for reference).
Copy the todo application without OAuth installed as that is what we will be working with.
Setting up our starting point to-do application
To set up the todo application, copy the directory todoapp - no oauth server to a different directory and rename it to whatever you wish to rename it to.
For the sake of brevity, we will be using SQLite to create a quick connection to a database. Create a new and empty file: ./database/database.sqlite.
Next, copy the .env.example file from the root of your project to .env and in the new file, change the DB_CONNECTION key to sqlite. Now delete every other DB_* key in the .env file leaving only the DB_CONNECTION key. If you cannot find the .env.example file, it is because it may be hidden in your file system. Open the project in Sublime Text or your preferred code editor and you’ll see the file.
To get started, cd to your project folder in your terminal and run the commands below to install the composer packages, run the migration on the database, and generate an application key respectively:
1# @see https://getcomposer.org/doc/00-intro.md#installation-linux-unix-osx on how to install Composer globally 2 $ composer install 3 4 # Run migrations on the database 5 $ php artisan migrate 6 7 # Generate a secure application key 8 $ php artisan key:generate
After the commands have finished running, run the command below to start a PHP server using artisan.
1$ php artisan serve
? The artisan serve command quickly brings up a PHP server and helps you quickly run your Laravel application without having to worry about setting up Virtual Hosts.
Now, when you visit http://127.0.0.1:8000 you should see the Laravel homepage. Click on the register and create a new account, we will need this later.
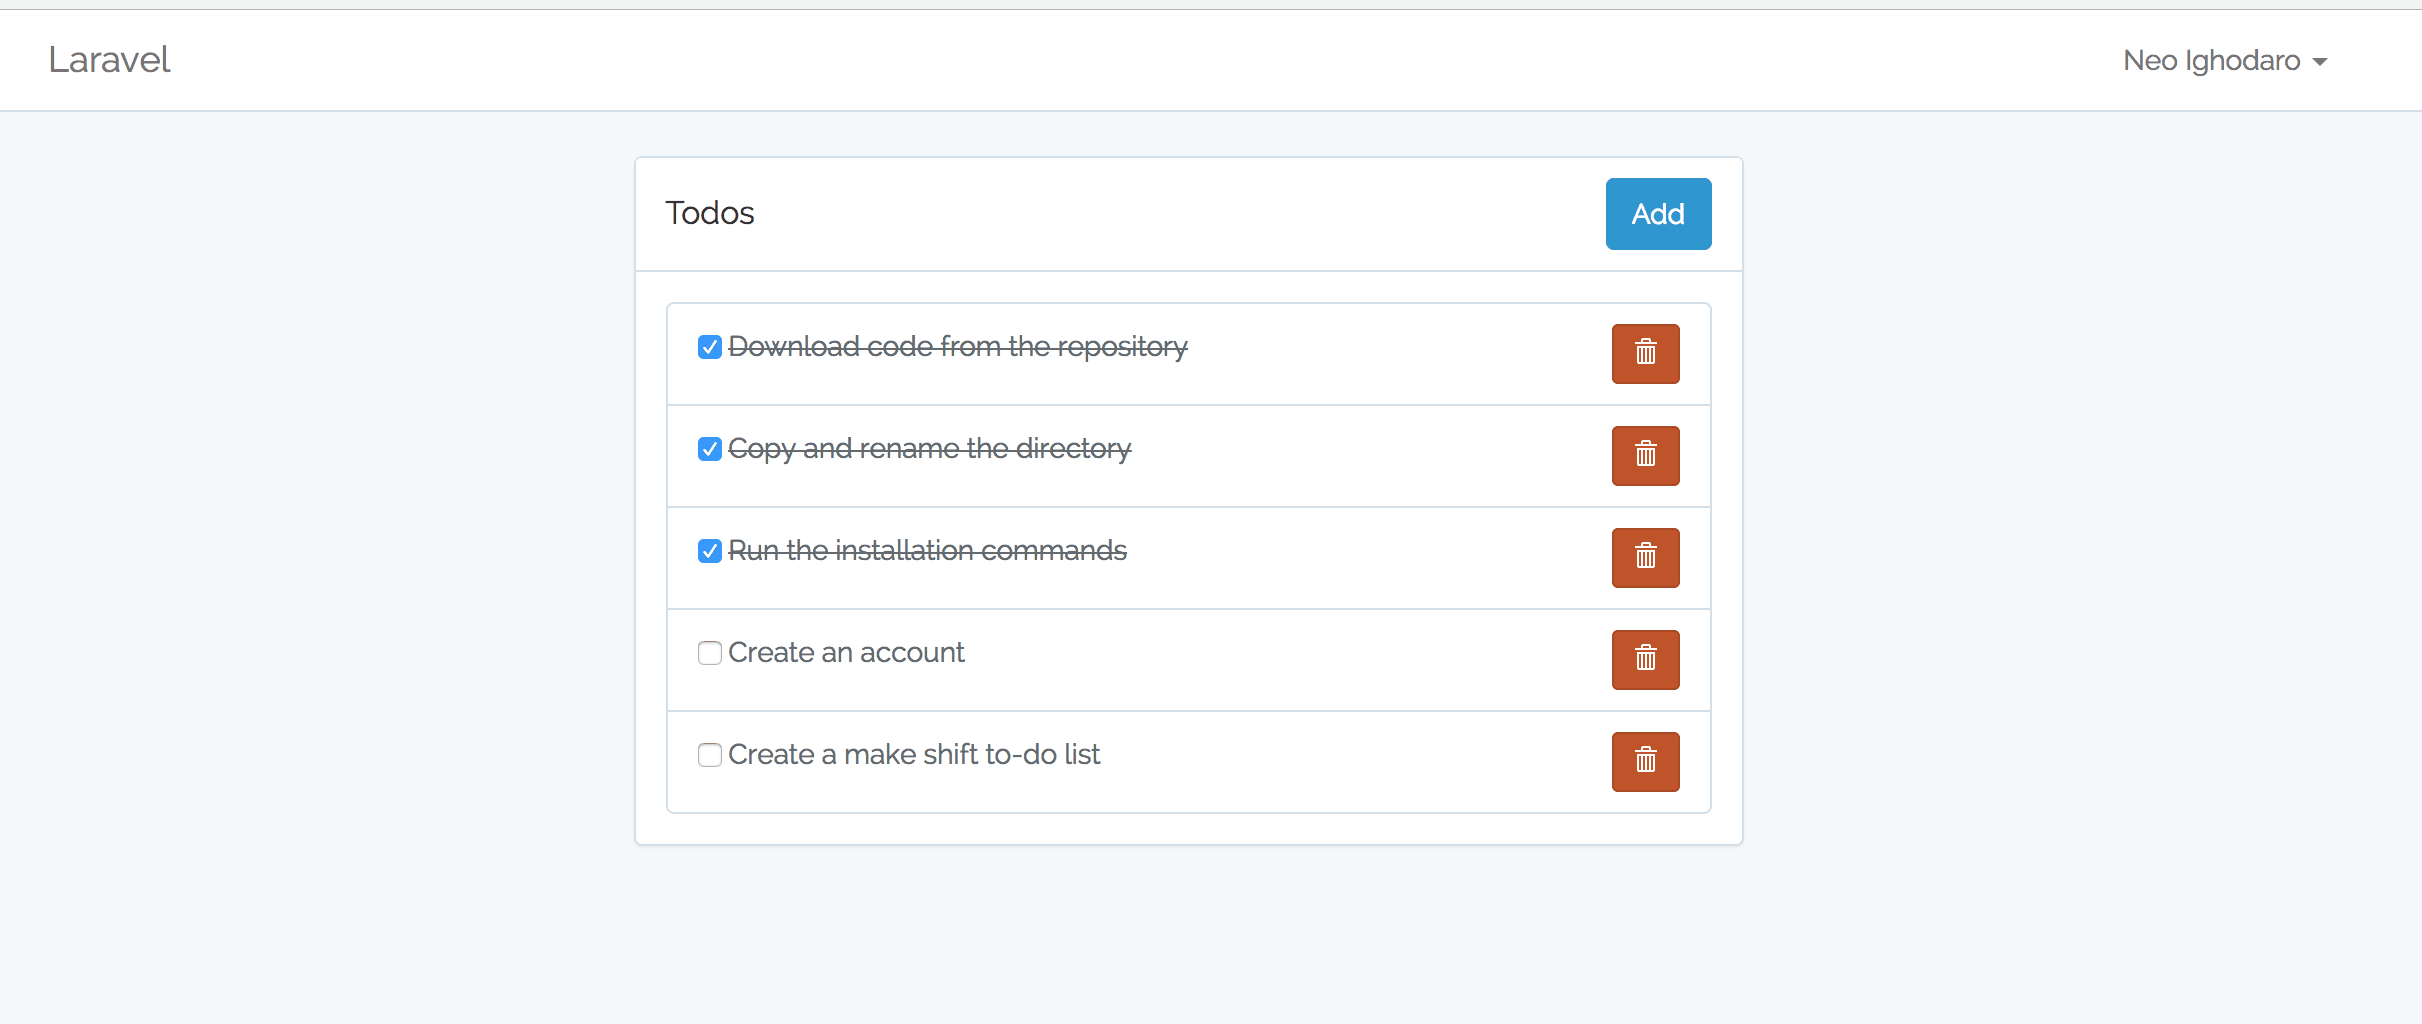
Once you’re in the application, click the “Add” button to add a bunch of to-dos to your application. You can also tick a few as completed while you are at it. When you are done you should have something similar to this:
Adding an OAuth2 Server to our Laravel Application
Now that the application is running correctly, you should return to your command-line and terminate the server by using cmd+c (ctrl+c on windows).
Installing and configuring Laravel Passport
The first thing we would do is install Laravel Passport. We can do so by running the following command on our terminal:
1$ composer require laravel/passport
This will install the Laravel Passport composer package to our Laravel application, now if you are using Laravel 5.5 or higher, (our current application is) then that is all you need to do to configure Laravel Passport. However, if you are using Laravel 5.4 or lower, you will need to register the Passport service provider in the providers array of your config/app.php configuration file:
1Laravel\Passport\PassportServiceProvider::class,
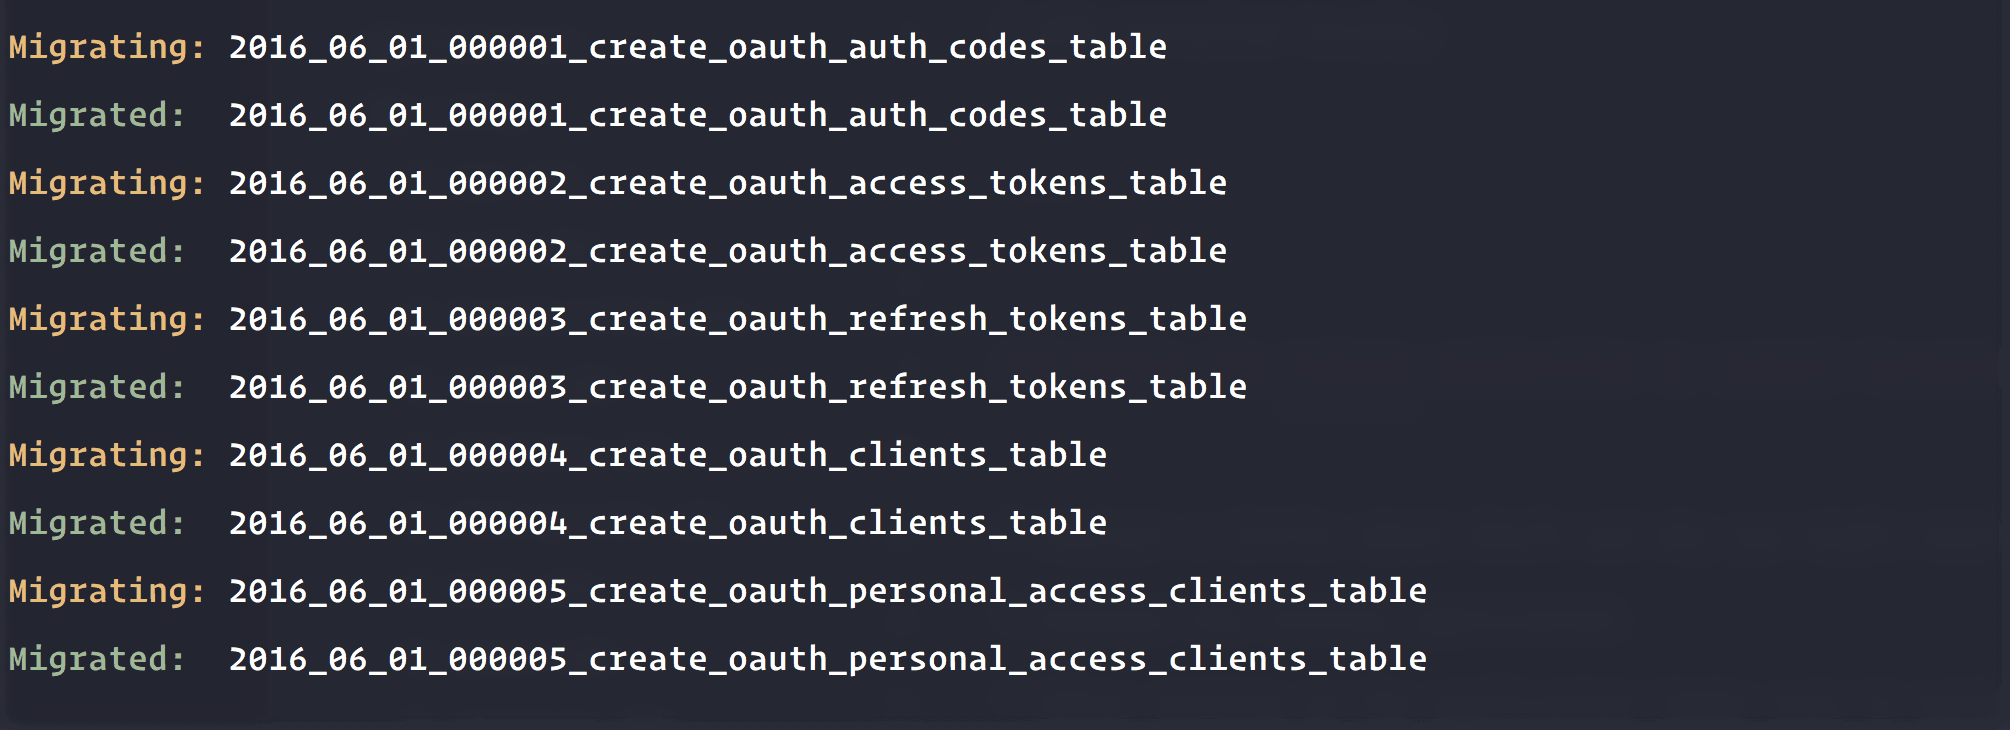
Now, you need to run the migration that will create all the required database tables that Laravel Passport will need. To do this run:
1$ php artisan migrate
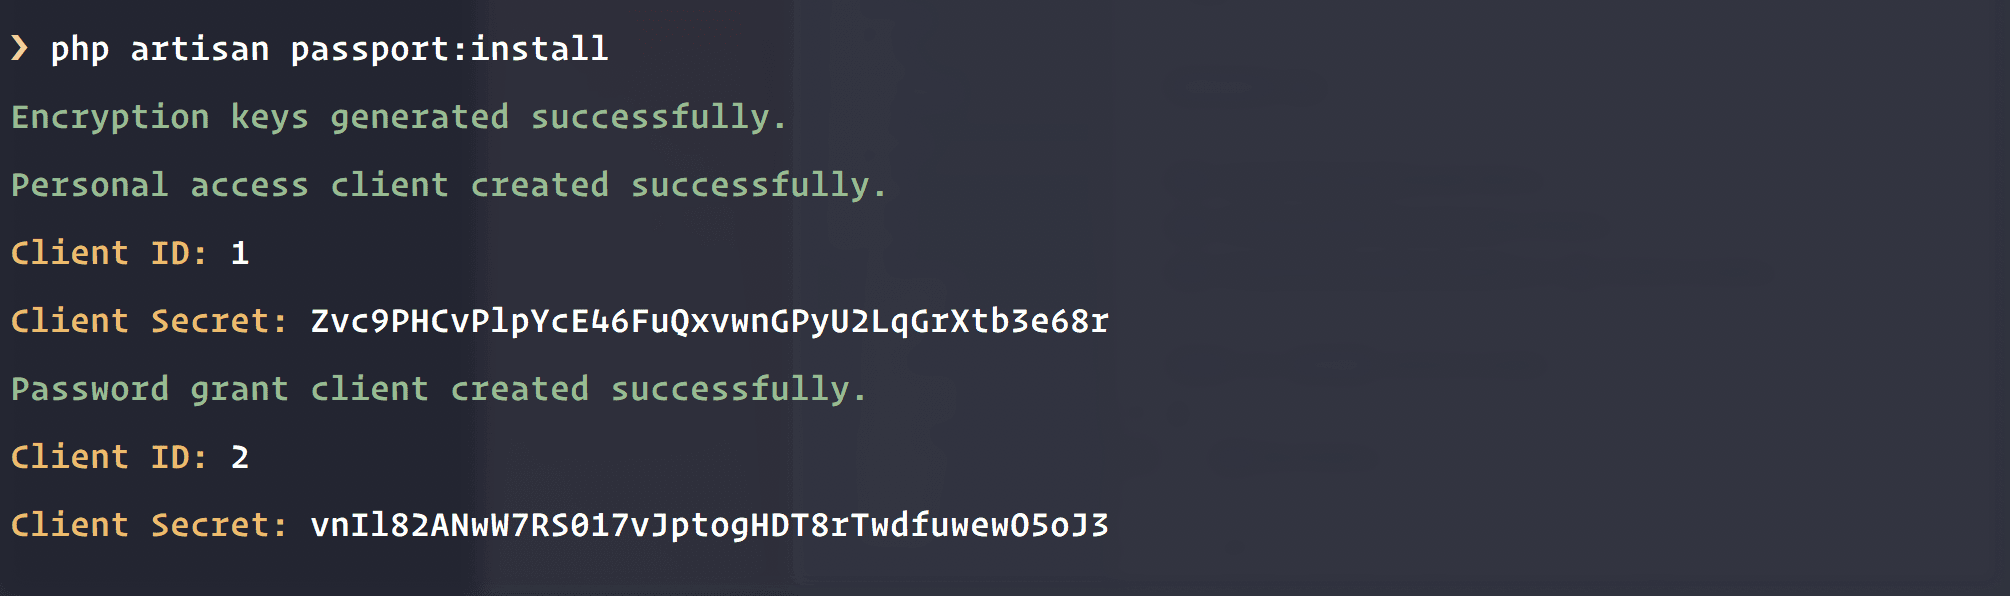
Next, you will need to run the command that will generate an encryption key. This encryption key will let passport securely generate access tokens. The command will also create a personal access client and a password client for us.
1$ php artisan passport:install
Next, add the Laravel\Passport\HasApiTokens trait to your App\User model. This trait will provide some helper methods which allow you to inspect the authenticated user’s token and scopes:
1use Laravel\Passport\HasApiTokens; 2 3 class User extends Authenticatable { 4 use HasApiTokens, Notifiable; 5 }
Open the AuthServiceProvider and inside the register method of the class make a call to Passport::routes as shown below (Note that you need to add the use line to import the Laravel Passport package):
1use Laravel\Passport\Passport; 2 // ... 3 4 class AuthServiceProvider extends ServiceProvider 5 { 6 // ... 7 8 public function boot() 9 { 10 $this->registerPolicies(); 11 12 Passport::routes(); 13 } 14 }
Now, to the last part of configuring Laravel Passport. Open the ./config/auth.php file. Set the driver option of the api authentication guard to “passport”. This will make sure your application uses Passport’s TokenGuard while authenticating incoming API requests:
1'guards' => [ 2 //... 3 4 'api' => [ 5 'driver' => 'passport', 6 'provider' => 'users', 7 ], 8 ],
With that we have finished configuring Laravel Passport and we are ready to start using it in our application.
Adding a User Interface for managing OAuth clients and tokens
Since we have finished installing Laravel Passport, we want to leverage on some of the things Laravel Passport offers us out of the box. One of them is a User Interface where users can manage client applications, revoke access tokens etc.
Run the command below:
1$ php artisan vendor:publish --tag=passport-components
This will publish some Vue components for plug-and-play usage. If you look at the ./resources/assets/js/components directory, you should see a passport directory with three Vue components inside. Let’s load them up into the application so we can use them.
Open the ./resources/assets/js/app.js file and in there paste in the following right under the todos component (Note that it MUST be added before the const app = new Vue instance is created):
1Vue.component( 2 'passport-authorized-clients', 3 require('./components/passport/AuthorizedClients.vue') 4 ); 5 6 Vue.component( 7 'passport-clients', 8 require('./components/passport/Clients.vue') 9 ); 10 11 Vue.component( 12 'passport-personal-access-tokens', 13 require('./components/passport/PersonalAccessTokens.vue') 14 );
In the above, we are registering the Vue components that were published using the artisan vendor publish command above. This will make the components available throughout our application if we wanted to use them. Great!
Now run the command below to install the Node packages and rebuild our assets using webpack:
1$ npm install 2 $ npm run dev
After the build is completed, we will need to create a settings page where the passport views will reside.
Create a new controller using the command below
1$ php artisan make:controller SettingsController
Open the newly created controller and replace with the code below:
1<?php 2 3 namespace App\Http\Controllers; 4 5 use Illuminate\Http\Request; 6 7 class SettingsController extends Controller 8 { 9 public function __construct() 10 { 11 $this->middleware('auth'); 12 } 13 14 public function index() 15 { 16 return view('settings'); 17 } 18 }
In the controller above we setup a middleware that only allows logged-in users to access the index method. Next, we render a view settings.
Create a new view settings.blade.php in the ./resources/views directory and in there add the code below:
1@extends('layouts.app') 2 3 @section('content') 4 <div class="container"> 5 <div class="row"> 6 <div class="col-md-8 col-md-offset-2"> 7 <passport-authorized-clients></passport-authorized-clients> 8 <passport-clients></passport-clients> 9 <passport-personal-access-tokens></passport-personal-access-tokens> 10 </div> 11 </div> 12 </div> 13 @endsection
In the code above we have added the Vue components we imported earlier into our view. This will generate an entire OAuth management tool for the user no further work needed on that front.
Next, we will create a route to expose the controller and view we just created. To do this, open the ./routes/web.php file and add the route below:
1Route::get('/settings', 'SettingsController@index')->name('settings');
Finally, we want to add a Settings link to the page so it is easily accessible. Open the ./resources/views/layouts/app.blade.php and on line 55 (or anywhere in the Bootstrap navigation menu you want) add the code below:
1<li><a href="{{ route('settings') }}">Settings</a></li>
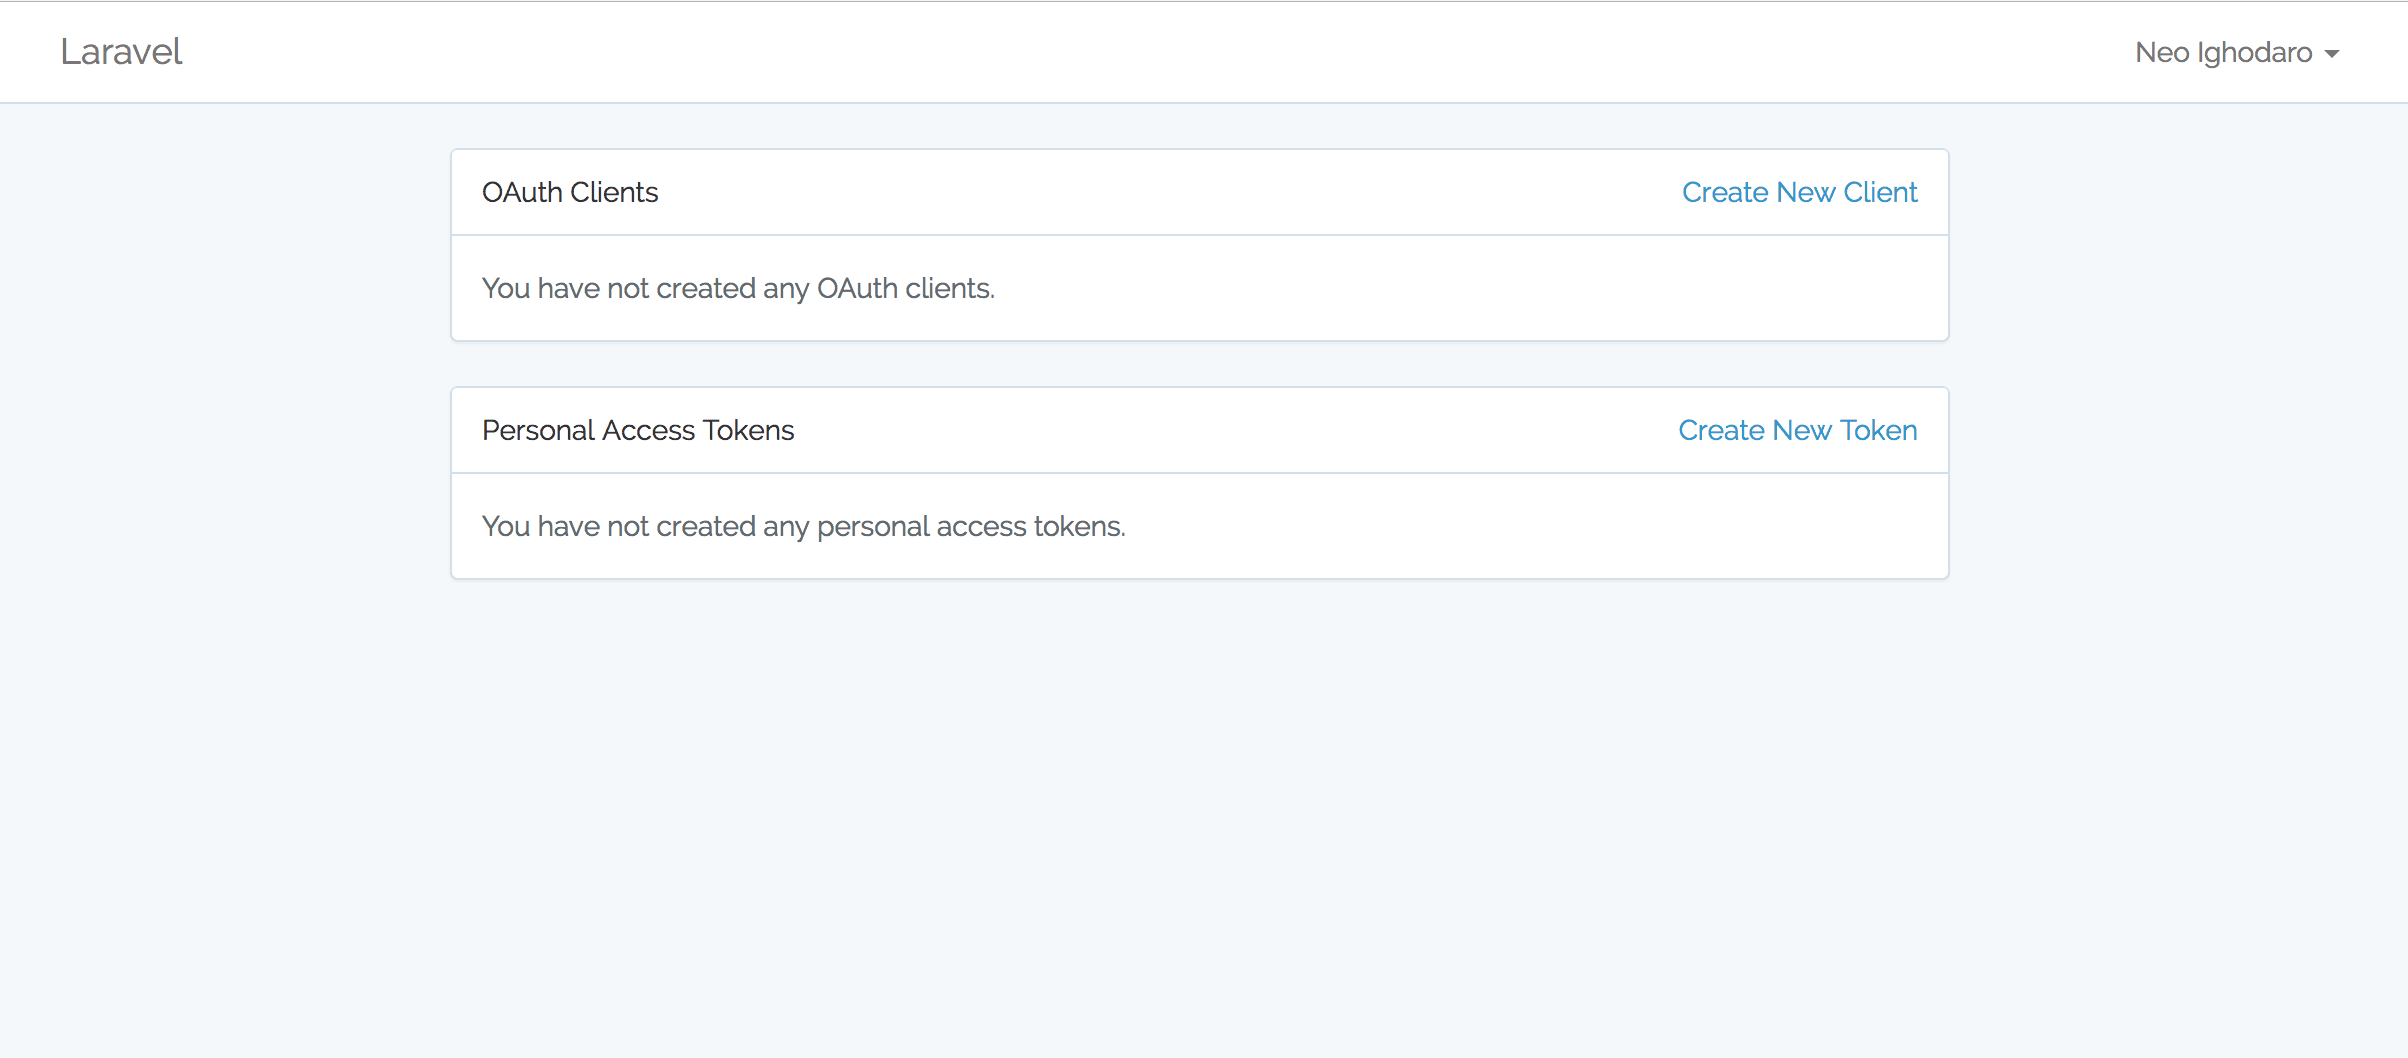
This will just create a link to the settings page. Now run php artisan serve again like you did before and visit the link http://127.0.0.1:8000, then log in and click Your Name > Settings; you should see a page like this below:
Creating an OAuth application
Now you should go ahead and create an OAuth client, we will be needing it in the next section. Click the “Create new client” link and create a new OAuth application. For the tutorial, set the Redirect URL to http://127.0.0.1:8001/callback.
⚠️ When creating your own OAuth application consumer, the redirect URL will be the address to the actual callback on the consumer.
Once you have created it you should see your client with an ID and Secret. We will use this information to test our consumer application.
Exposing an endpoint to test the Laravel Passport OAuth Server implementation
The last thing we will do with our OAuth server enabled application is, create an endpoint that will respond to request using Laravel Passport.
Open the ./routes/api.php file and add the following route:
1Route::middleware('auth:api')->get('/todos', function (Request $request) { 2 return $request->user()->todos; 3 });
The route above sets a middleware auth:api which instructs the route to only allow applications authenticated with Laravel Passport to access this route. Then once it’s validated, it returns all the user’s todos.
? ****
**$request->user()**is tied to the access token of the validated user, and**->todos**is a relationship that returns the todos of that user.
That’s all! You have successfully added an OAuth server to the application! Your users can now create applications that can access the application without using their username and password.
? You can also create Personal Access Tokens using the settings screen of the OAuth application. Personal Access Tokens just give you instant access tokens you can use to make requests to the application.
We will continue the article to see how we can implement a consumer application. This will enable us test our OAuth2 enabled Laravel application.
Testing our Laravel Passport OAuth2 enabled application
To test our OAuth server, we will need to create a separate application that is not connected in any way to the Oauth2 server. Something brand new.
Create a new Laravel project outside our current todo application:
1$ laravel new consumerapp
Once the application has been created successfully, we will install Guzzle. We need the package to make HTTP requests. To install Guzzle, run:
1$ composer install guzzlehttp/guzzle
When the package installation is complete, run the command below to start another PHP server using artisan:
1$ php artisan serve --port=8001
This should start a server in the URL http://127.0.0.1:8001.
Now, to add the needed routes for testing, open the routes file ./routes/web.php and in there replace the entire file with the following code:
1<?php 2 3 use Illuminate\Http\Request; 4 5 Route::get('/', function () { 6 $query = http_build_query([ 7 'client_id' => 3, // Replace with Client ID 8 'redirect_uri' => 'http://127.0.0.1:8001/callback', 9 'response_type' => 'code', 10 'scope' => '' 11 ]); 12 13 return redirect('http://127.0.0.1:8000/oauth/authorize?'.$query); 14 }); 15 16 Route::get('/callback', function (Request $request) { 17 $response = (new GuzzleHttp\Client)->post('http://127.0.0.1:8000/oauth/token', [ 18 'form_params' => [ 19 'grant_type' => 'authorization_code', 20 'client_id' => 3, // Replace with Client ID 21 'client_secret' => 'CLIENT_SECRET', // Replace with client secret 22 'redirect_uri' => 'http://127.0.0.1:8001/callback', 23 'code' => $request->code, 24 ] 25 ]); 26 27 session()->put('token', json_decode((string) $response->getBody(), true)); 28 29 return redirect('/todos'); 30 }); 31 32 Route::get('/todos', function () { 33 $response = (new GuzzleHttp\Client)->get('http://127.0.0.1:8000/api/todos', [ 34 'headers' => [ 35 'Authorization' => 'Bearer '.session()->get('token.access_token') 36 ] 37 ]); 38 39 return json_decode((string) $response->getBody(), true); 40 });
⚠️ Replace the client ID and secret with the values that were given to you when the application was being created. You can get this in the Settings section of your OAuth 2 enabled application.
In the code above, we have defined 3 routes. In the first route, we use http_build_query to generate URL parameters which we send to the Laravel Passport enabled OAuth server. The parameters are client_id, redirect_uri (which must be the same as the one you used when creating the application) etc. Then we redirect to the URL.
The next route is the callback handler. It receives a code from the OAuth2 server and then you use the code and the other parameters, including the client_secret, to make a request which will then exchange the code with an access token. When it gets the access token, it saves it to the session and redirects to the last route.
The last route in the code above takes the access token from the session and uses it to make a request to the /api/todos endpoint on the OAuth2 applications server. If the access token is still active, you will now be able to see a list of the user’s to-dos displayed on the screen!
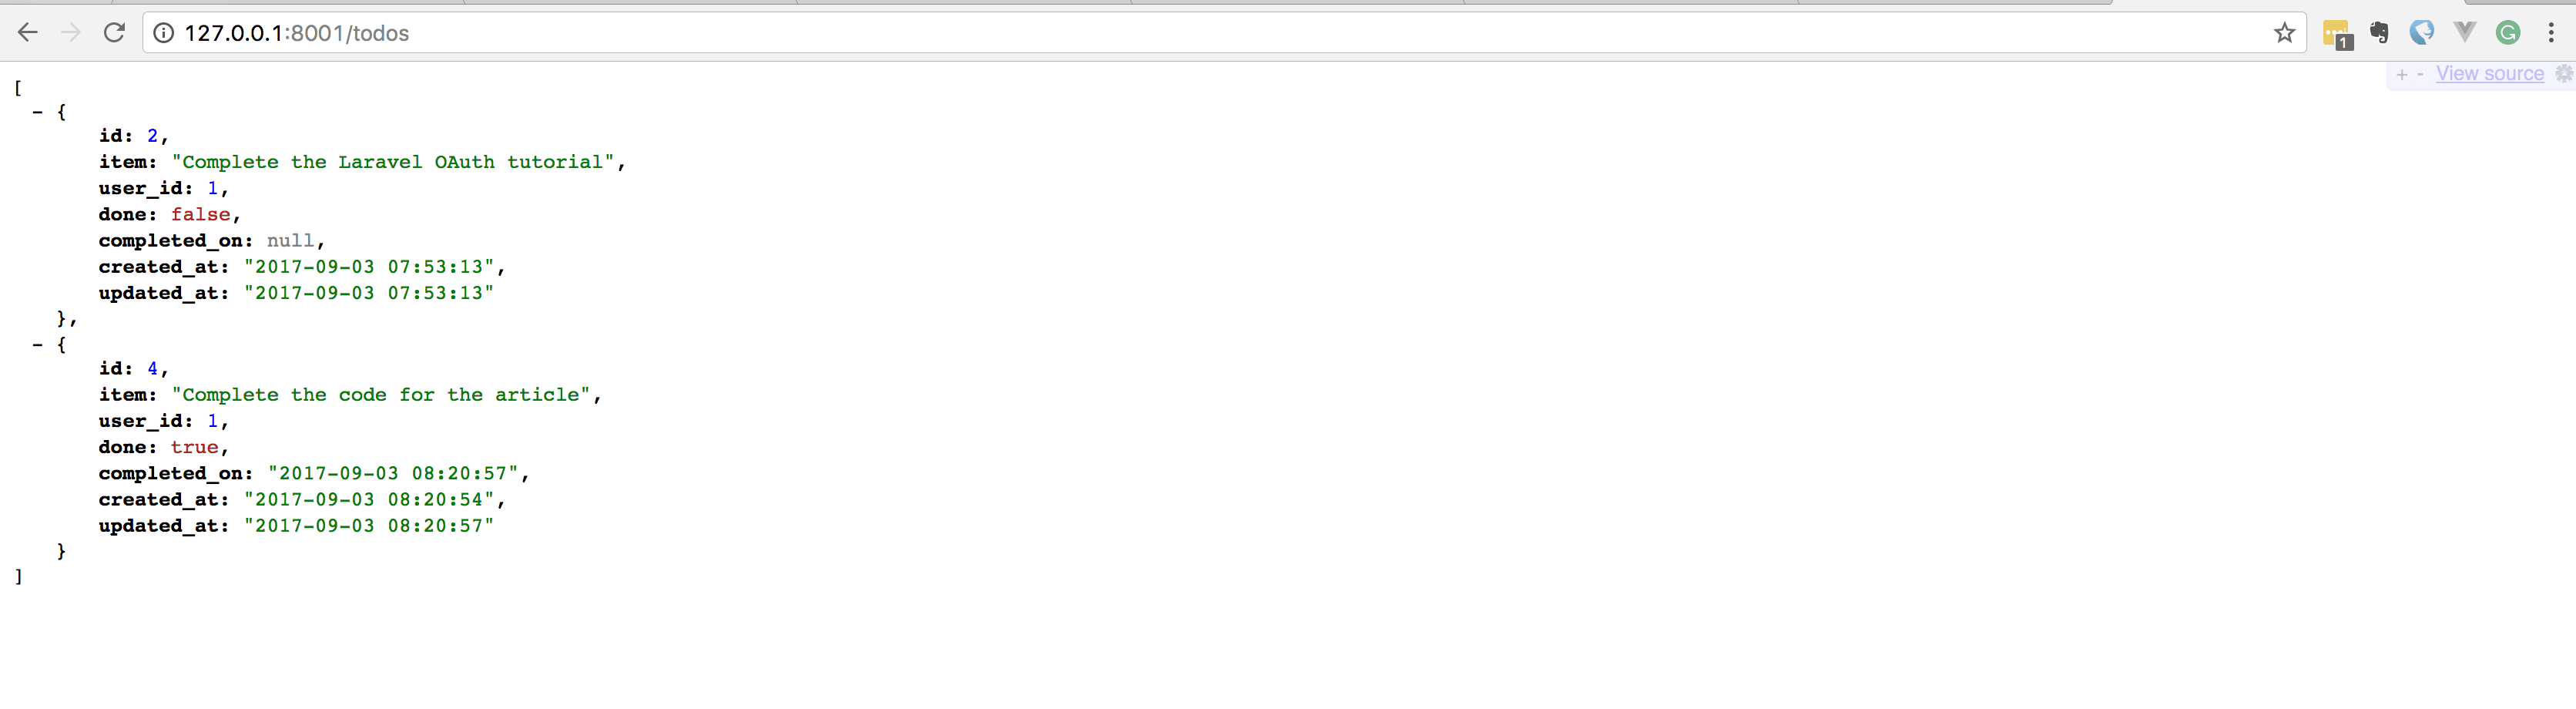
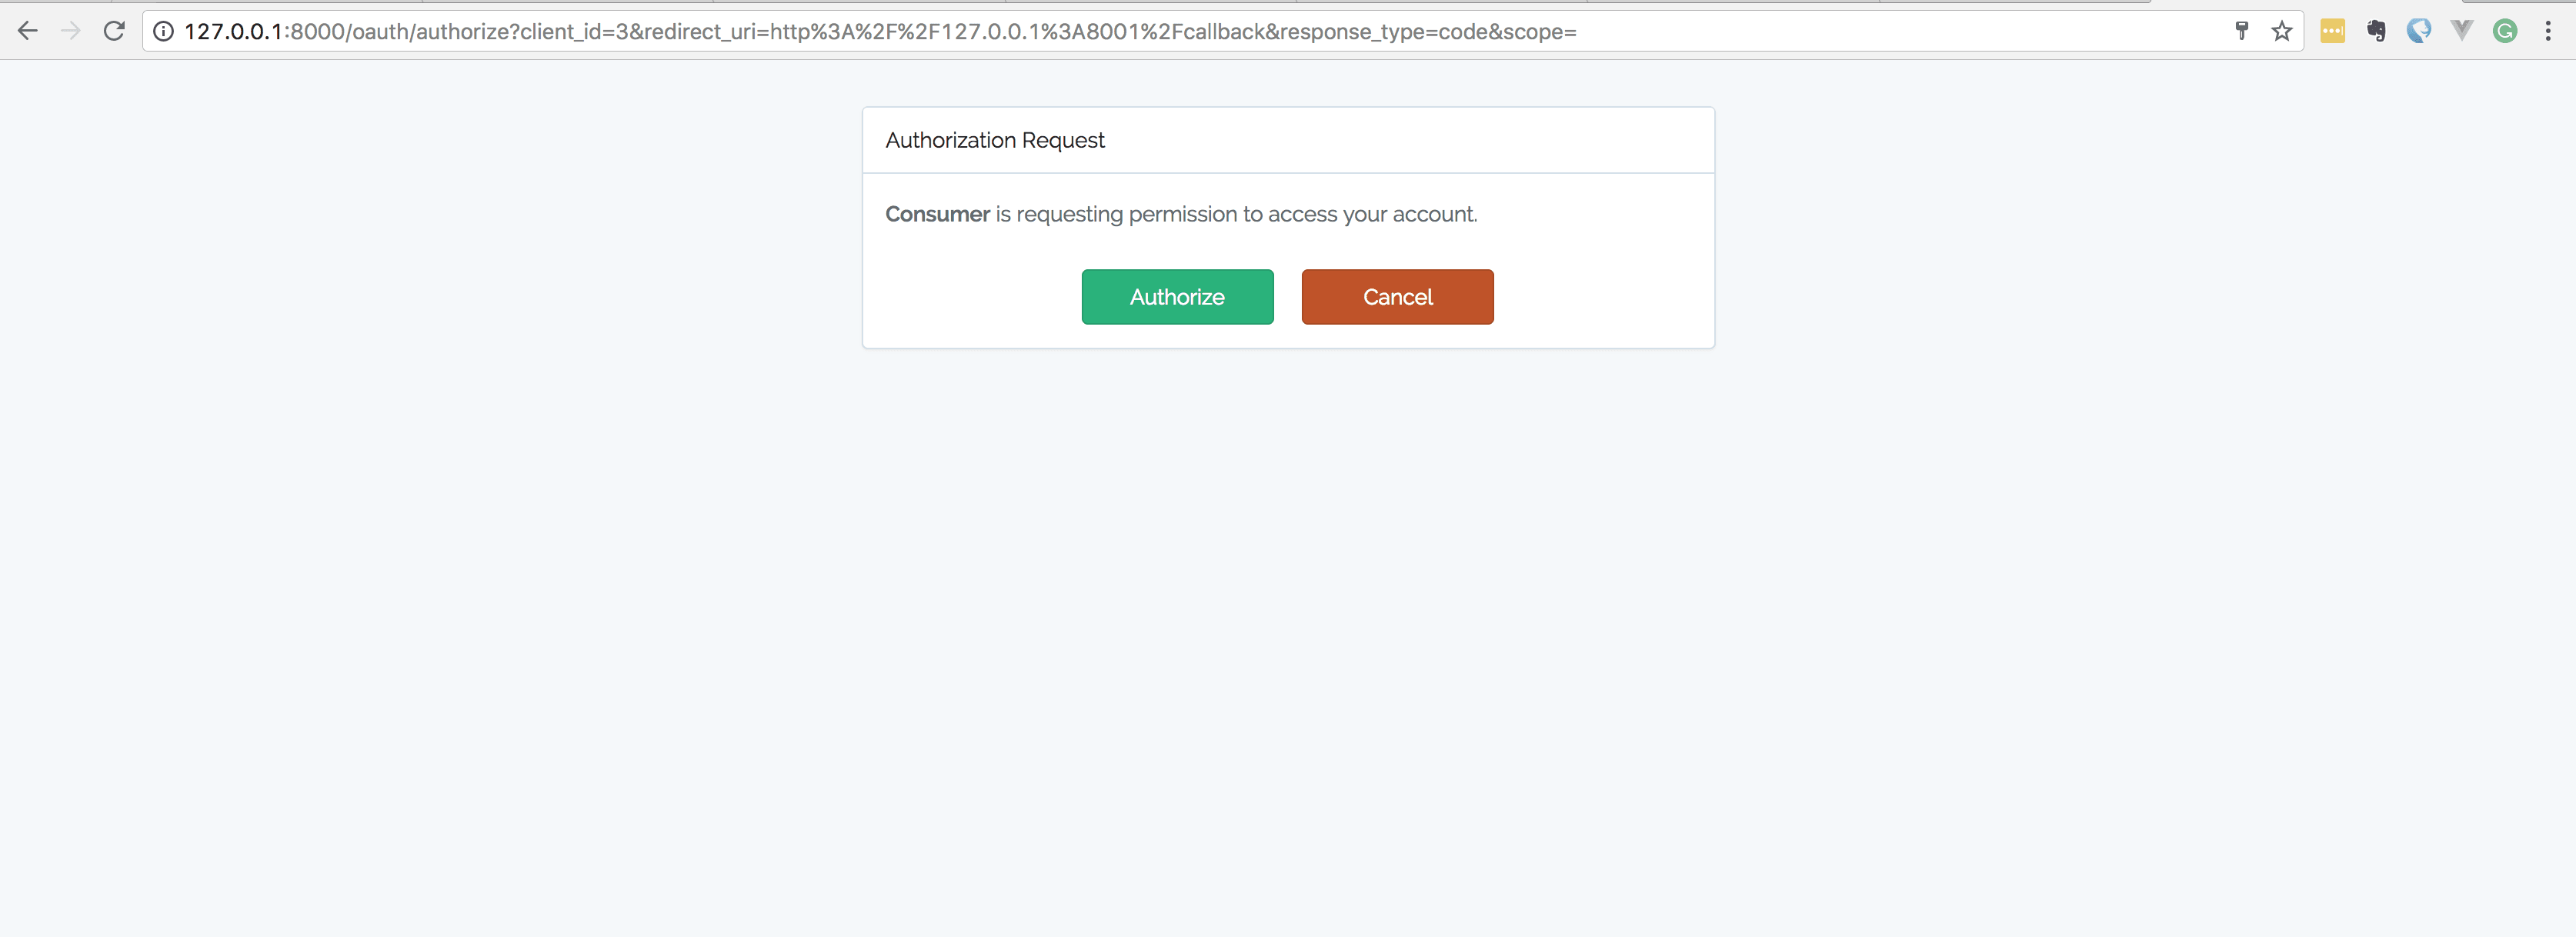
To test this flow, you can visit the consumer URL: http://127.0.0.1:8001 and then you should see the flow in action, and finally ending with the list of todos on the screen.
Conclusion
In this article, we have been able to create a full-fledged OAuth2 server for our Laravel Application using Laravel Passport! Laravel Passport makes it super easy and it takes only a few steps as we have seen in the article to make your application OAuth 2 enabled.
If you have any questions, please leave them below and if you have feedback, also leave them below. You can star the GitHub repo for reference if you wish.


© 2024 Pusher Ltd. All rights reserved.
Pusher Limited is a company registered in England and Wales (No. 07489873) whose registered office is at MessageBird UK Limited, 3 More London Riverside, 4th Floor, London, United Kingdom, SE1 2AQ.