- Products

- Developers
- User stories
- Blog
- Pricing

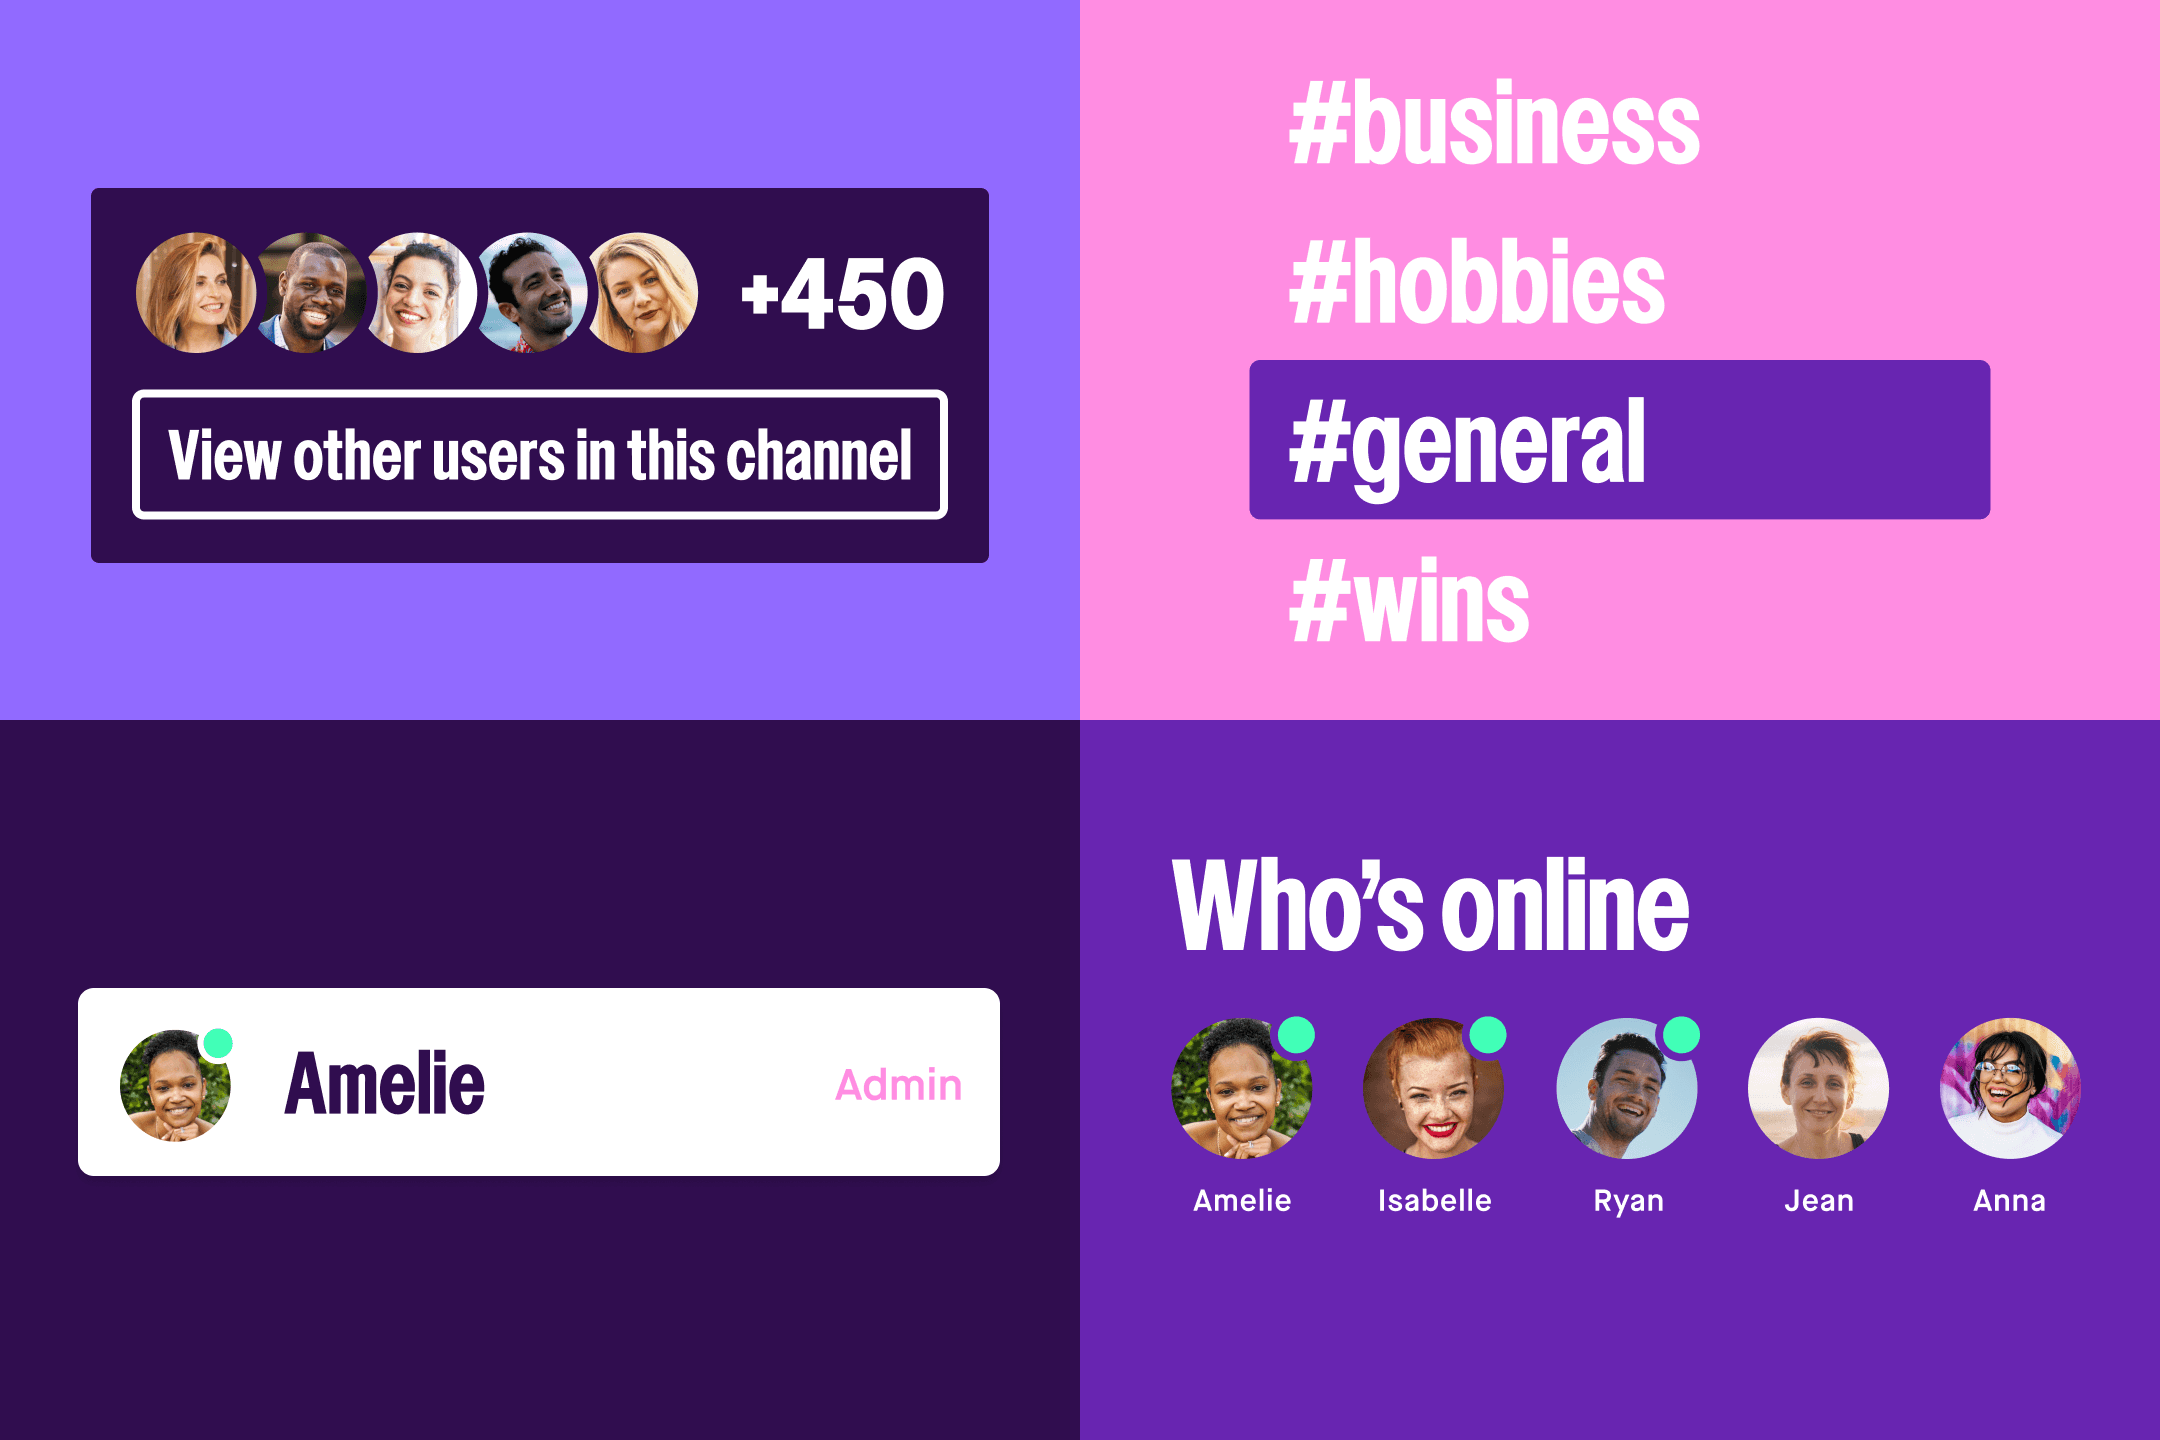
Build an app with information-rich “Who’s online” feature
Here’s how to build apps with the who’s online feature using Pusher Presence channels and User Authentication.
Introduction
Being able to see “who’s online” is an important feature for many applications. For instance, chat rooms, teams collaborating in real time on a document, audiences in a live video stream, users viewing the same web page, and players within an online game. All benefit from the visibility of who they’re interacting with.
Presence channels are the go-to solution for Pusher users working on those scenarios. This channel type notifies subscribed connections about other users joining or leaving the channel. With our User Authentication feature, it is even easier to use Presence channels. User Authentication helps automate development around identifying users trying to connect and subscribe. To learn how we use and define these Pusher-specific terms, check out the Pusher Glossary.
Let’s take a look at an application that takes advantage of the two features in tandem.
How to use Presence channels with User Authentication
Let’s take an example of the chat room use case. How can you use User Authentication and Presence channels to implement the “who’s online” feature with rich user information?
The user_info you choose to provide can be any identifiable. Any user-specific details that are relevant to your application. You may want users to be able to see contact information, social pages, a role, icon, nickname, or anything else.
In this case, we’re interested in seeing users’ icons, names, and the admin authority they have in the channel.
Imagine that the chat application we want to build has the following features:
- The user logs into the chat app
- When the user joins a chat room, they can view the other users in that chat room
- The application has different types of chat rooms with different functionalities. From “business” or “hobbies”.
- In “hobbies”chat rooms, the user can see the name and icon of each user indicating their presence in the room
- In “business”chat rooms, the name and icon are also displayed in addition to a flag for the admin of this chat room
The following sections will take you through the steps needed to integrate Pusher with our example chat application. Then implement the “who’s online” feature for the two chat rooms.
Step 1: Initialize Pusher
You can use Pusher on any client device. Whether it’s a mobile phone with Android or iOS operating system, or on any web browser. We’ll be using pusher-js which is the JavaScript client SDK for Pusher for web browsers.
If you don’t have a Pusher account yet, sign up. Now let’s get started!
Here’s how to initialize the SDK.
Client side – JavaScript
1const Pusher = require('pusher-js'); 2 3const pusher = new Pusher(APP\_KEY, { 4 cluster: APP\_CLUSTER, 5 userAuthentication: { 6 endpoint: '/pusher/user-auth', 7 } 8 channelAuthorization: { 9 endpoint: '/pusher/auth', 10 }, 11});
NOTE: You need to enter the APP_KEY and APP_CLUSTER which you get when you create a new Channels app on pusher.com. To get the app key and app cluster, log in to the Pusher dashboard, click the Channels project you’re working on > App Keys.
Step 2: User authentication
Pusher allows you to indicate which user is currently logged in. This is handy for many user-related features like server-to-user messaging and terminating user connections.
In this example, User Authentication will be used as an add-on feature to Presence Channels. This is to provide more details about the user connected.
On the client side, you need to initiate the user authentication flow:
Client side – JavaScript
pusher.signin();
This will result in an HTTP call to the user authentication endpoint /pusher/user-auth configured above in userAuthentication. You need to implement this endpoint in your server code.
Here’s an example implementation for this endpoint in Node.js using the [Node.js SDK](http://npmjs.com/package/pusher)(opens in a new tab) for Pusher:
Server side – Node.js
1const Pusher = require("pusher") 2const express = require("express") 3const bodyParser = require("body-parser"); 4const pusher = new Pusher({ 5 appId: APP\_ID, 6 key: APP\_KEY, 7 secret: APP\_SECRET, 8 cluster: APP\_CLUSTER, 9}); 10 11const app = express() 12app.use(bodyParser.json()); 13app.use(bodyParser.urlencoded({ extended: false })); 14 15app.post("/pusher/user-auth", async function (req, res) { 16// Find the logged in user. This step comes from your 17// system depending on Headers or Cookies 18user = whoIsLoggedIn(); 19 20const userData = { 21 id: user.id, 22 user_info: { 23 name: user.name, 24 icon: user.icon, 25 } 26} 27 const socketId = req.body.socket_id; 28 const auth = pusher.authenticateUser(socketId, userData); 29 res.send(auth); 30}); 31 32app.listen(9000);
NOTE: You need to enter the APP_ID, APP_KEY, APP_SECRET, and APP_CLUSTER. You get these when you create a new Channels app on pusher.com. To get the app key and app cluster, log in to the Pusher dashboard, click the Channels project you’re working on > App Keys.
When the user authentication endpoint is called, your server should be able to identify the currently logged in user using cookies or headers. You can further configure the HTTP call to the user authentication endpoint using userAuthentication fields on the client SDK.
After identifying the logged in user, your server needs to provide a userData object with the ID of the user. Additionally, you can provide more information about the user in the user_info field. For example, their name and a link to their icon. The information is shared with other members of Presence channels when this new user joins.
Here’s a sequence diagram to illustrate the Presence channels and user authentication process workflow.
Step 3: Presence channels and who’s online
Each chat room in this application will be represented by a Presence Channel which is named using presence-. For example, the chat room called “gaming” will use the channel presence-gaming.
The client side of your application can subscribe to a Presence channel via the client SDK as follows:
Client side – JavaScript
const presence_gaming = pusher.subscribe('presence-gaming');
Subscribing to a Presence channel will result in an HTTP call to the channel authorization endpoint /pusher/auth configured above in channelAuthorization. You need to implement this endpoint in your server code. Here’s an example implementation for this endpoint in Node.js:
Server side – Node.js
1app.post("/pusher/auth", async function (req, res) { 2 const socketId = req.body.socket_id; 3 const channel = req.body.channel_name; 4 const auth = pusher.authorizeChannel(socketId, channel); 5 res.send(auth); 6});
Through this endpoint, you can allow or deny access to Presence channels depending on the logged in user. The code example allows access to all Presence channels. You can modify the code according to your needs.
On the client side, you can bind functions to be called when a user joins or leaves a Presence channel as follows.
Client side – JavaScript
1presence_gaming.bind("pusher:member_added", (member) => { 2 console.log(`Member added: ${JSON.stringify(member)}`); 3}); 4 5presence_gaming.bind("pusher:member_removed", (member) => { 6 console.log(`Member removed: ${JSON.stringify(member)}`); 7});
The member object will look like this:
1{ 2 "id": "<id>", 3 "info": { 4 "name": "<name>", 5 "icon": "<icon>" 6 } 7}
Notice that this member object comes from the userData object during user authentication.
For example, a user named Emily is the first one to join the Presence channel presence-gaming. Then another user named John joins the same channel. Emily will be notified with the pusher:member_added event which contains a member object with information about John. Now Emily knows that someone else is in the channel with her, and who they are.
You can also access all the members in a Presence channel as follows:
Client side – JavaScript
presence_gaming.members
How to provide channel-specific user information to Presence channels
Providing user information during user authentication using the userData object is convenient as it will be shared in all presence channels that the user joins.
However, there are cases where the user information needs to be different for specific Presence channels. This use case is also supported by providing a channel-specific user information through the channel authorization endpoint as follows:
Server side – Node.js
1app.post("/pusher/auth", async function(req, res) { 2 const socketId = req.body.socket_id; 3 const channel = req.body.channel_name; 4 const channelData = { 5 user_id: `<id>`, 6 user_info: { 7 name: `<name>`, 8 icon: `<icon>` 9 } 10 } 11 const auth = pusher.authorizeChannel(socketId, channel, channelData); 12 res.send(auth); 13});
Notice that the call to authorizeChannel has an additional parameter called channelData. You can pass a channel specific user object using this parameter.
In the example application we’re developing for this blog post, this channel-specific user information feature is useful for the business type of chat rooms. Because the user information needs to indicate the admin of this chat room so that people know who to contact in case an admin is needed.
The server side can provide a different set of information for business channels. On the other hand, the hobbies channels can keep using the user information retrieved from User Authentication.
Here’s a code example:
Server side – Node.js
1app.post("/pusher/auth", async function(req, res) { 2 const socketId = req.body.socket_id; 3 const channel = req.body.channel_name; 4 if (channel.startsWith(`presence-business-`)) { // Find the logged in user. This step comes from your 5// system depending on Headers or Cookies 6 user = whoIsLoggedIn(); 7 const channelData = { 8 user_id: user.id, 9 user_info: { 10 name: user.id, 11 icon: user.icon, 12 isAdmin: user.isAdmin, 13 } 14 } 15 const auth = pusher.authorizeChannel(socketId, channel, channelData); 16 } else { 17 const auth = pusher.authorizeChannel(socketId, channel); 18 } 19 res.send(auth); 20});
Build your next “who’s online” project using Presence Channels
Pusher Channels helps you to build fully-featured presence views and implement different use cases related to “who’s online”. Presence channels can be used to send realtime messages about the members of the channel, with User Authentication providing the context which identifies who the user is. You can also offer channel-specific information for each user if needed.
To get started with your next live presence project, sign up. If you need any help, reach out to our support team.


© 2024 Pusher Ltd. All rights reserved.
Pusher Limited is a company registered in England and Wales (No. 07489873) whose registered office is at MessageBird UK Limited, 3 More London Riverside, 4th Floor, London, United Kingdom, SE1 2AQ.