- Products

- Developers
- User stories
- Blog
- Pricing

Announcing NotificationsJS
One of the more popular use cases for Pusher comes in the form of notifications (a short message that pops up on the user’s screen to tell them about an event such as an item being delivered). Pusher is a great fit for this as it’s easy to send data to users in realtime to \[…\]
Introduction
One of the more popular use cases for Pusher comes in the form of notifications (a short message that pops up on the user’s screen to tell them about an event such as an item being delivered). Pusher is a great fit for this as it’s easy to send data to users in realtime to keep them informed as soon as something happens.
However, we’ve always left the development of notification logic for our users to figure out themselves. Making sure notifications are based on Pusher events, ensuring they look great and keeping the whole experience smooth with animations are all things that required effort from developers when using PusherJS for notifications – until now.
Today we’re making using Pusher for notifications easier by releasing Notifications.js, a library that makes it effortless to add notifications to your website. It comes with animations and default styling out the box, it’s easy to customise and if you want to power notifications based on Pusher events that’s easy too. If you’re not using Pusher you can still use Notifications.js to take much of the complexity of notifications off your hands.
Getting Started
You’ll find full documentation on the Notifications.js GitHub page but it’s easy to quickly get up and running with Notifications.js. You can install either from npm or by grabbing the code from GitHub. Notifications.js also depends on the fantastic animate.css for animating notifications in and out.
Top tip: if you’d like to skip setting this all up yourself, our Notifications.js getting started repo provides a project with the library fully installed and configured.
Once you’ve got your dependencies you need to set up your HTML page to include all the files. You’ll also need a div with an id of notifications; this is where the library will place your notifications. Now you can initialise the library:
1var notifications = new Notifications({});
And you can use the push method to send a notification:
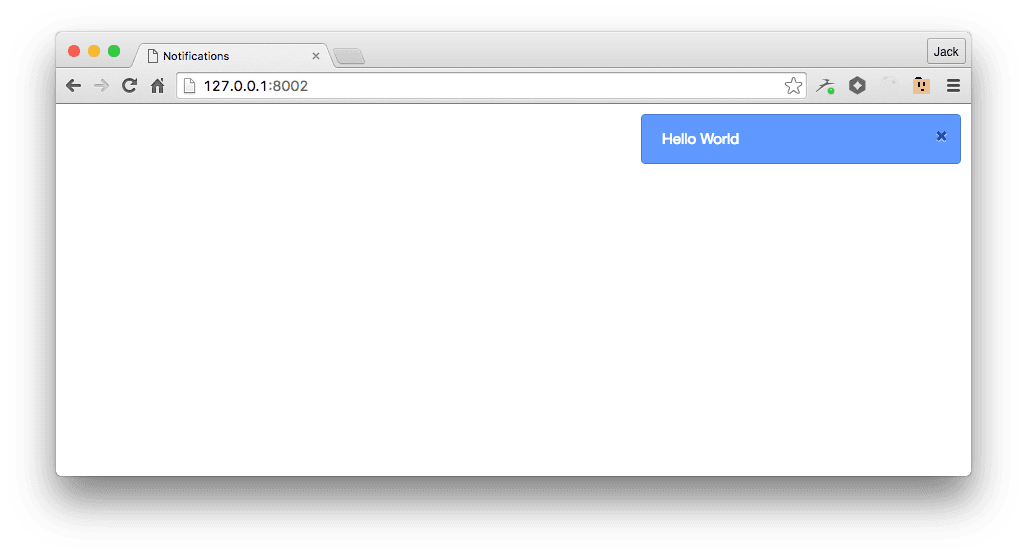
1notifications.push('Hello World');
Which will look something like the screenshot below:
If you’d like to now power notifications from Pusher events, that’s easy to add too!
Firstly you should add and instantiate PusherJS as you would normally:
1var pusher = new Pusher('YOUR_APP_KEY');
And then you need to tell Notifications.js which events it should listen to along with the data it should show for each notification:
1var pusher = new Pusher('YOUR_APP_KEY'); 2 3var notifications = new Notifications({ 4 instance: pusher, 5 channelName: 'notifications', 6 eventName: 'new-notification', 7 transform: function(event) { 8 return 'New notification! ' + event.text; 9 } 10});
And now each event will trigger a notification.
Next Steps
If you’d like to go further with Notifications.js and use it in your project you can read the full range of options for customising your notifications. If you encounter any bugs, problems or have any questions feel free to create an issue or let us know on Twitter.


© 2024 Pusher Ltd. All rights reserved.
Pusher Limited is a company registered in England and Wales (No. 07489873) whose registered office is at MessageBird UK Limited, 3 More London Riverside, 4th Floor, London, United Kingdom, SE1 2AQ.